Building an Audio Lightsaber with Bela
An instrument fit for a Jedi
In this post we’ll explain how to make a super-sensitive audio lightsaber from a cardboard tube, accelerometer, piezo disk, speaker, battery and a Bela board.
This project was made using Pure Data with Bela and was created to show how easy Bela is to use for rapid prototyping and for bringing sound models to life. The patch we’ve created comes as one of the standard examples on Bela and takes care of the sound design and sensor processing (which we discuss in more detail below) to create an audio lightsaber fit for a Jedi! To begin let’s discuss the components you need to create this project.
Construction
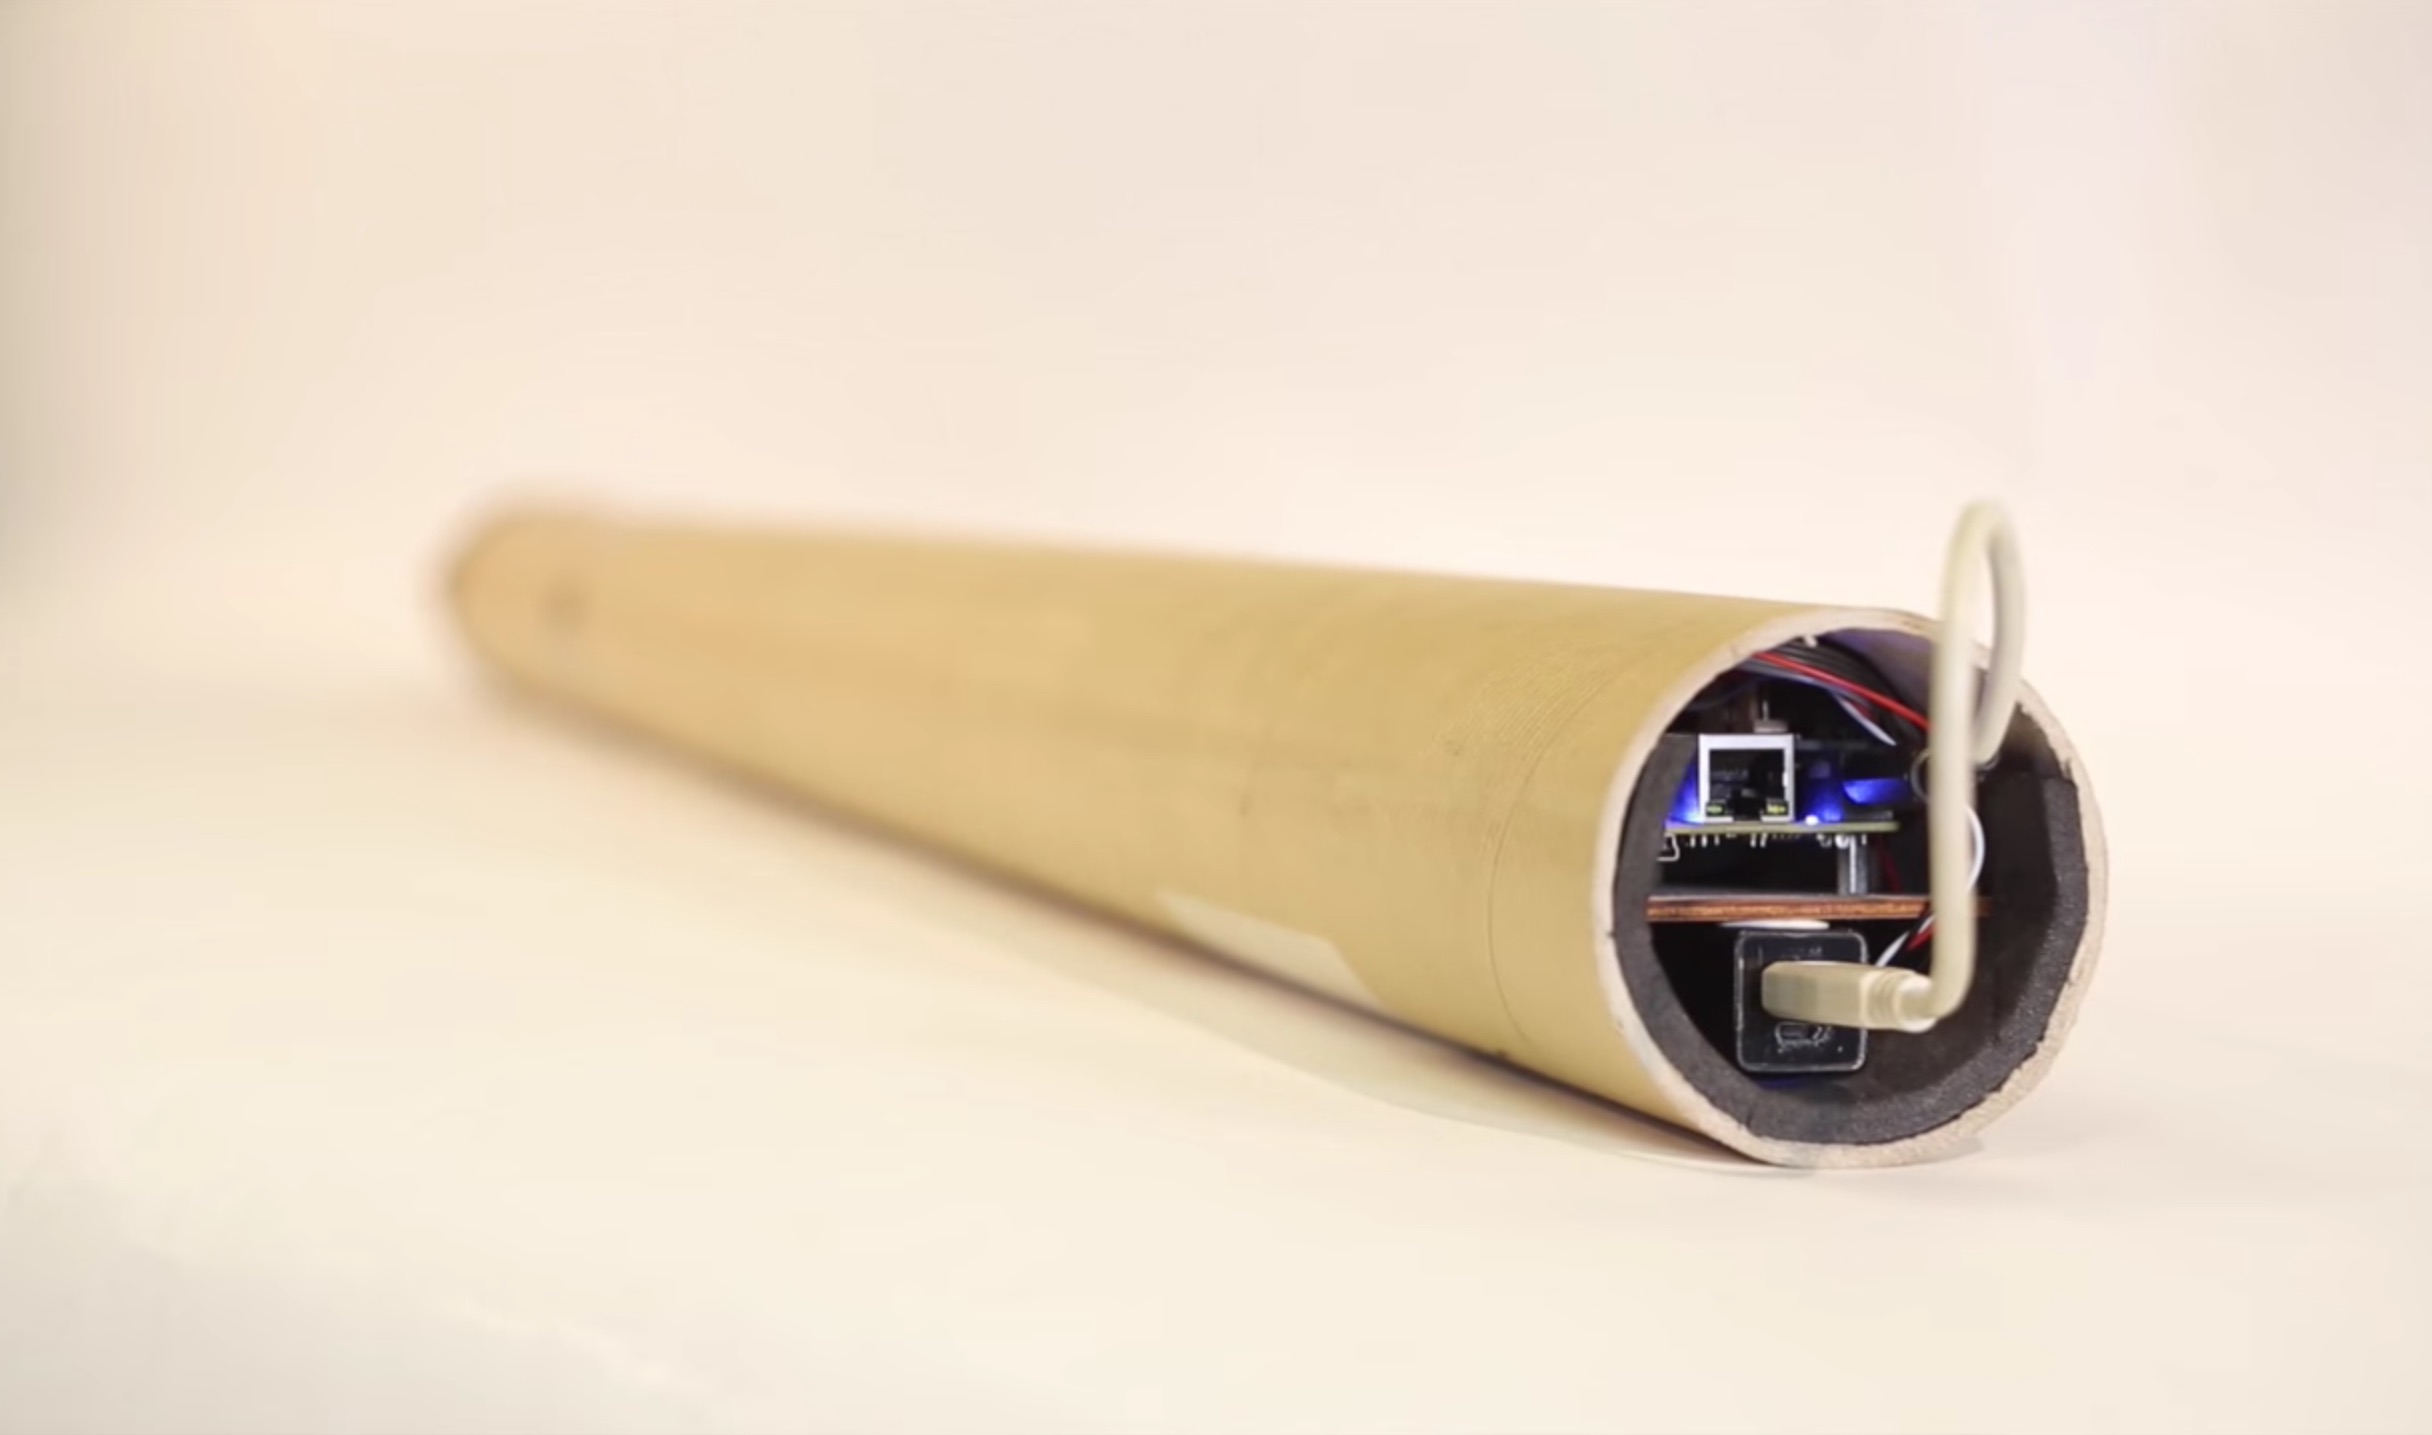
Firstly, and perhaps most importantly, you need to find a cardboard tube that can act as the main body of saber. This tube needs to be at least 6 cm in diameter to allow you to fit the Bela board inside its hilt, but this also depends on how you mount the board inside the tube - below you’ll see a few different approaches to this. It’s also a good idea to try and find quite a sturdy cardboard tube that will withstand a good beating – we’ve had a few casualities already from people getting over-excited while duelling! We found that poster tubes or tubes used for mailing long rails worked best.
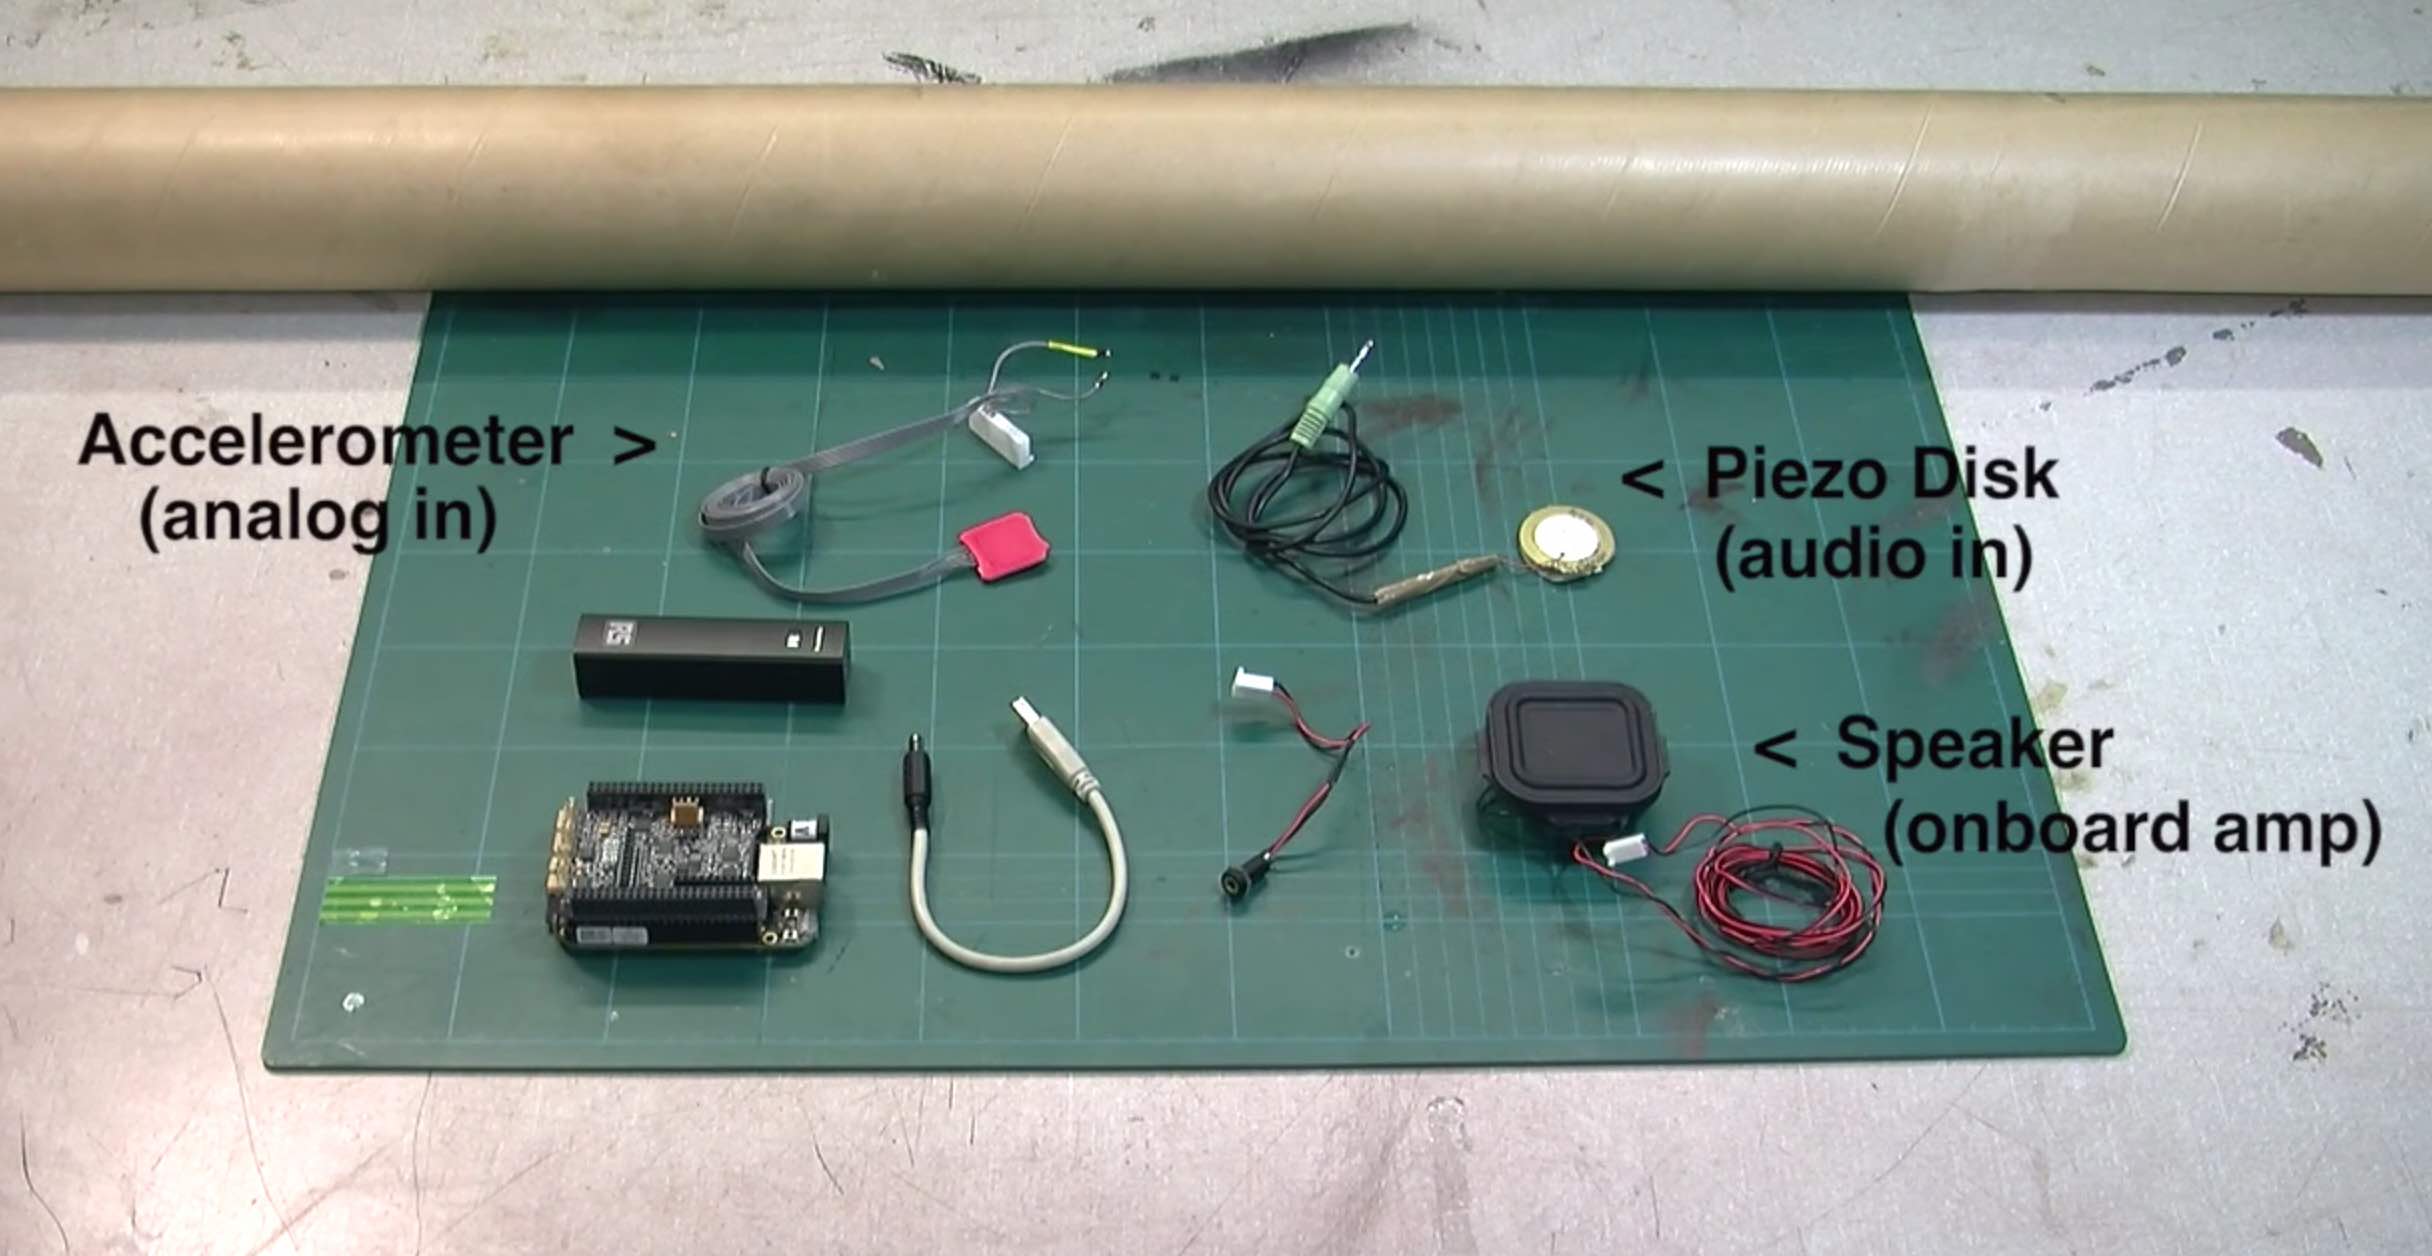
The two sensors that we use in this project are a piezo disk and a accelerometer. In this case we’re treating the piezo disk like a microphone and pluging it into the audio input of Bela. Piezo disks generate a voltage when they are deformed and so when they are attached to surfaces they can also translate vibrations on that surface into a voltage. It’s for this reason that they are often used as the core element in contact microphones and hydrophones. In this case we are using one to detect strikes on the cardboard tube and using that (audio) signal to trigger an impact sound. It should be attached to the inside of the tube toward the far end (we used double sided velcro to do this).
There are many online guides on how to create contact mics from piezo disks. In our case we take the simplest option. We solder the red wire from the piezo disk (attached to the central white piezoelectric crystal in the middle of the disk) to the tip of a 3.5mm jack plug, and the black wire (attached to the outer metal ring of the disk) to the shield of the jack plug. This way we can plug it straight into the audio input of Bela. You will probably what to add a measure of additional wire inbetween the disk and jack to help you with mounting.
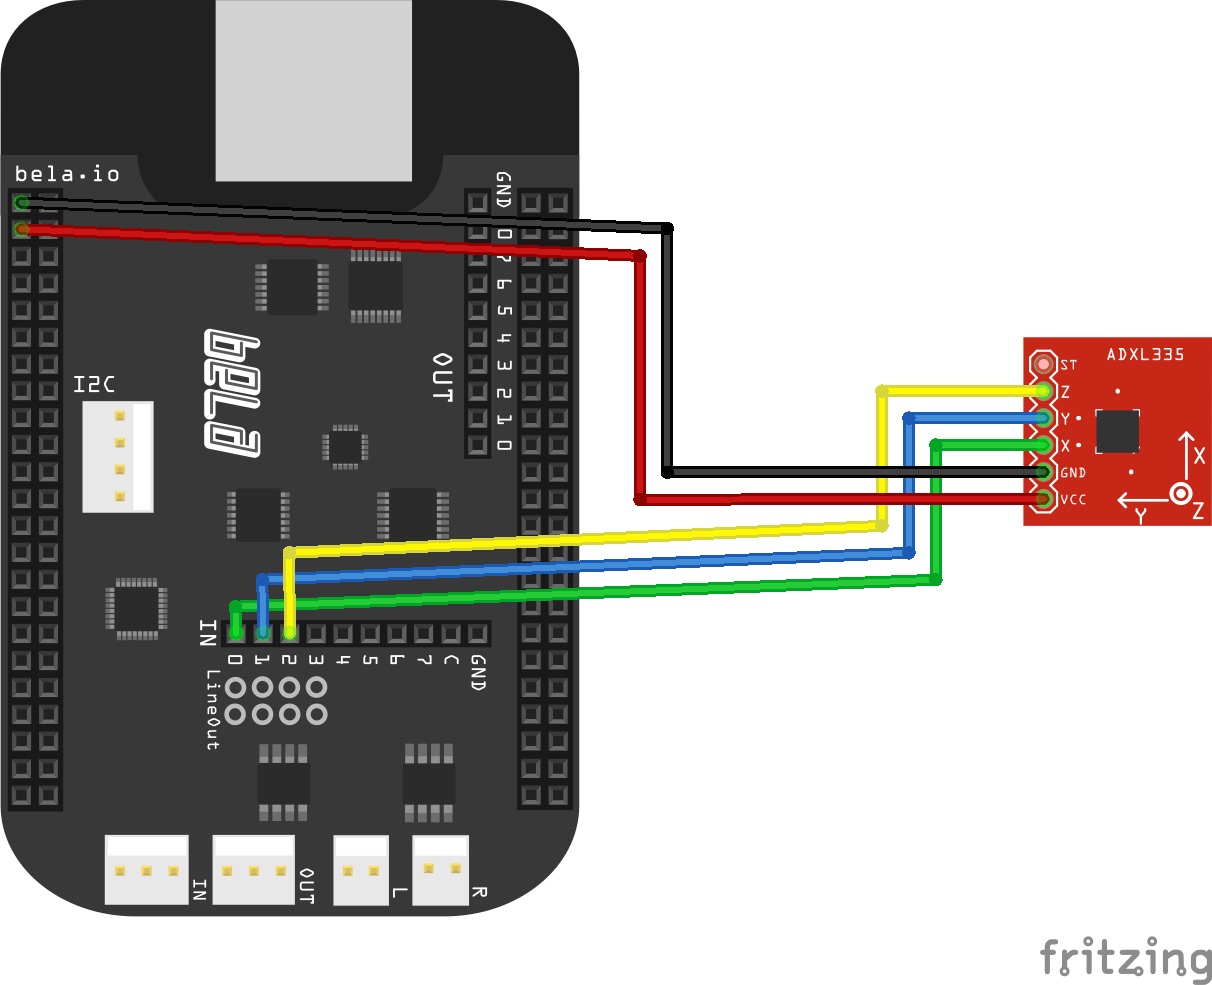
The accelerometer is hooked up to Bela as shown in this circuit diagram and should also be attached inside the tube. This sensor gives us three signals that represent the movement of the tube, x, y and z. In the Pure Data patch we are integrating these signals to calculate the overall velocity of the tube and using this to drive the electrical hum part of the sound model. The final piece of the puzzle is a speaker to add at the top of tube. We used an 8 Ohm speaker similar to this one, however the most important thing is to find one that matches the diameter of your tube. This makes fixing the speaker to the tube much easier – we used cable ties to attach ours in the first prototype.
The code for the saber comes as an example project with Bela and can be found here: examples/10-Instruments/saber.
Sound Design
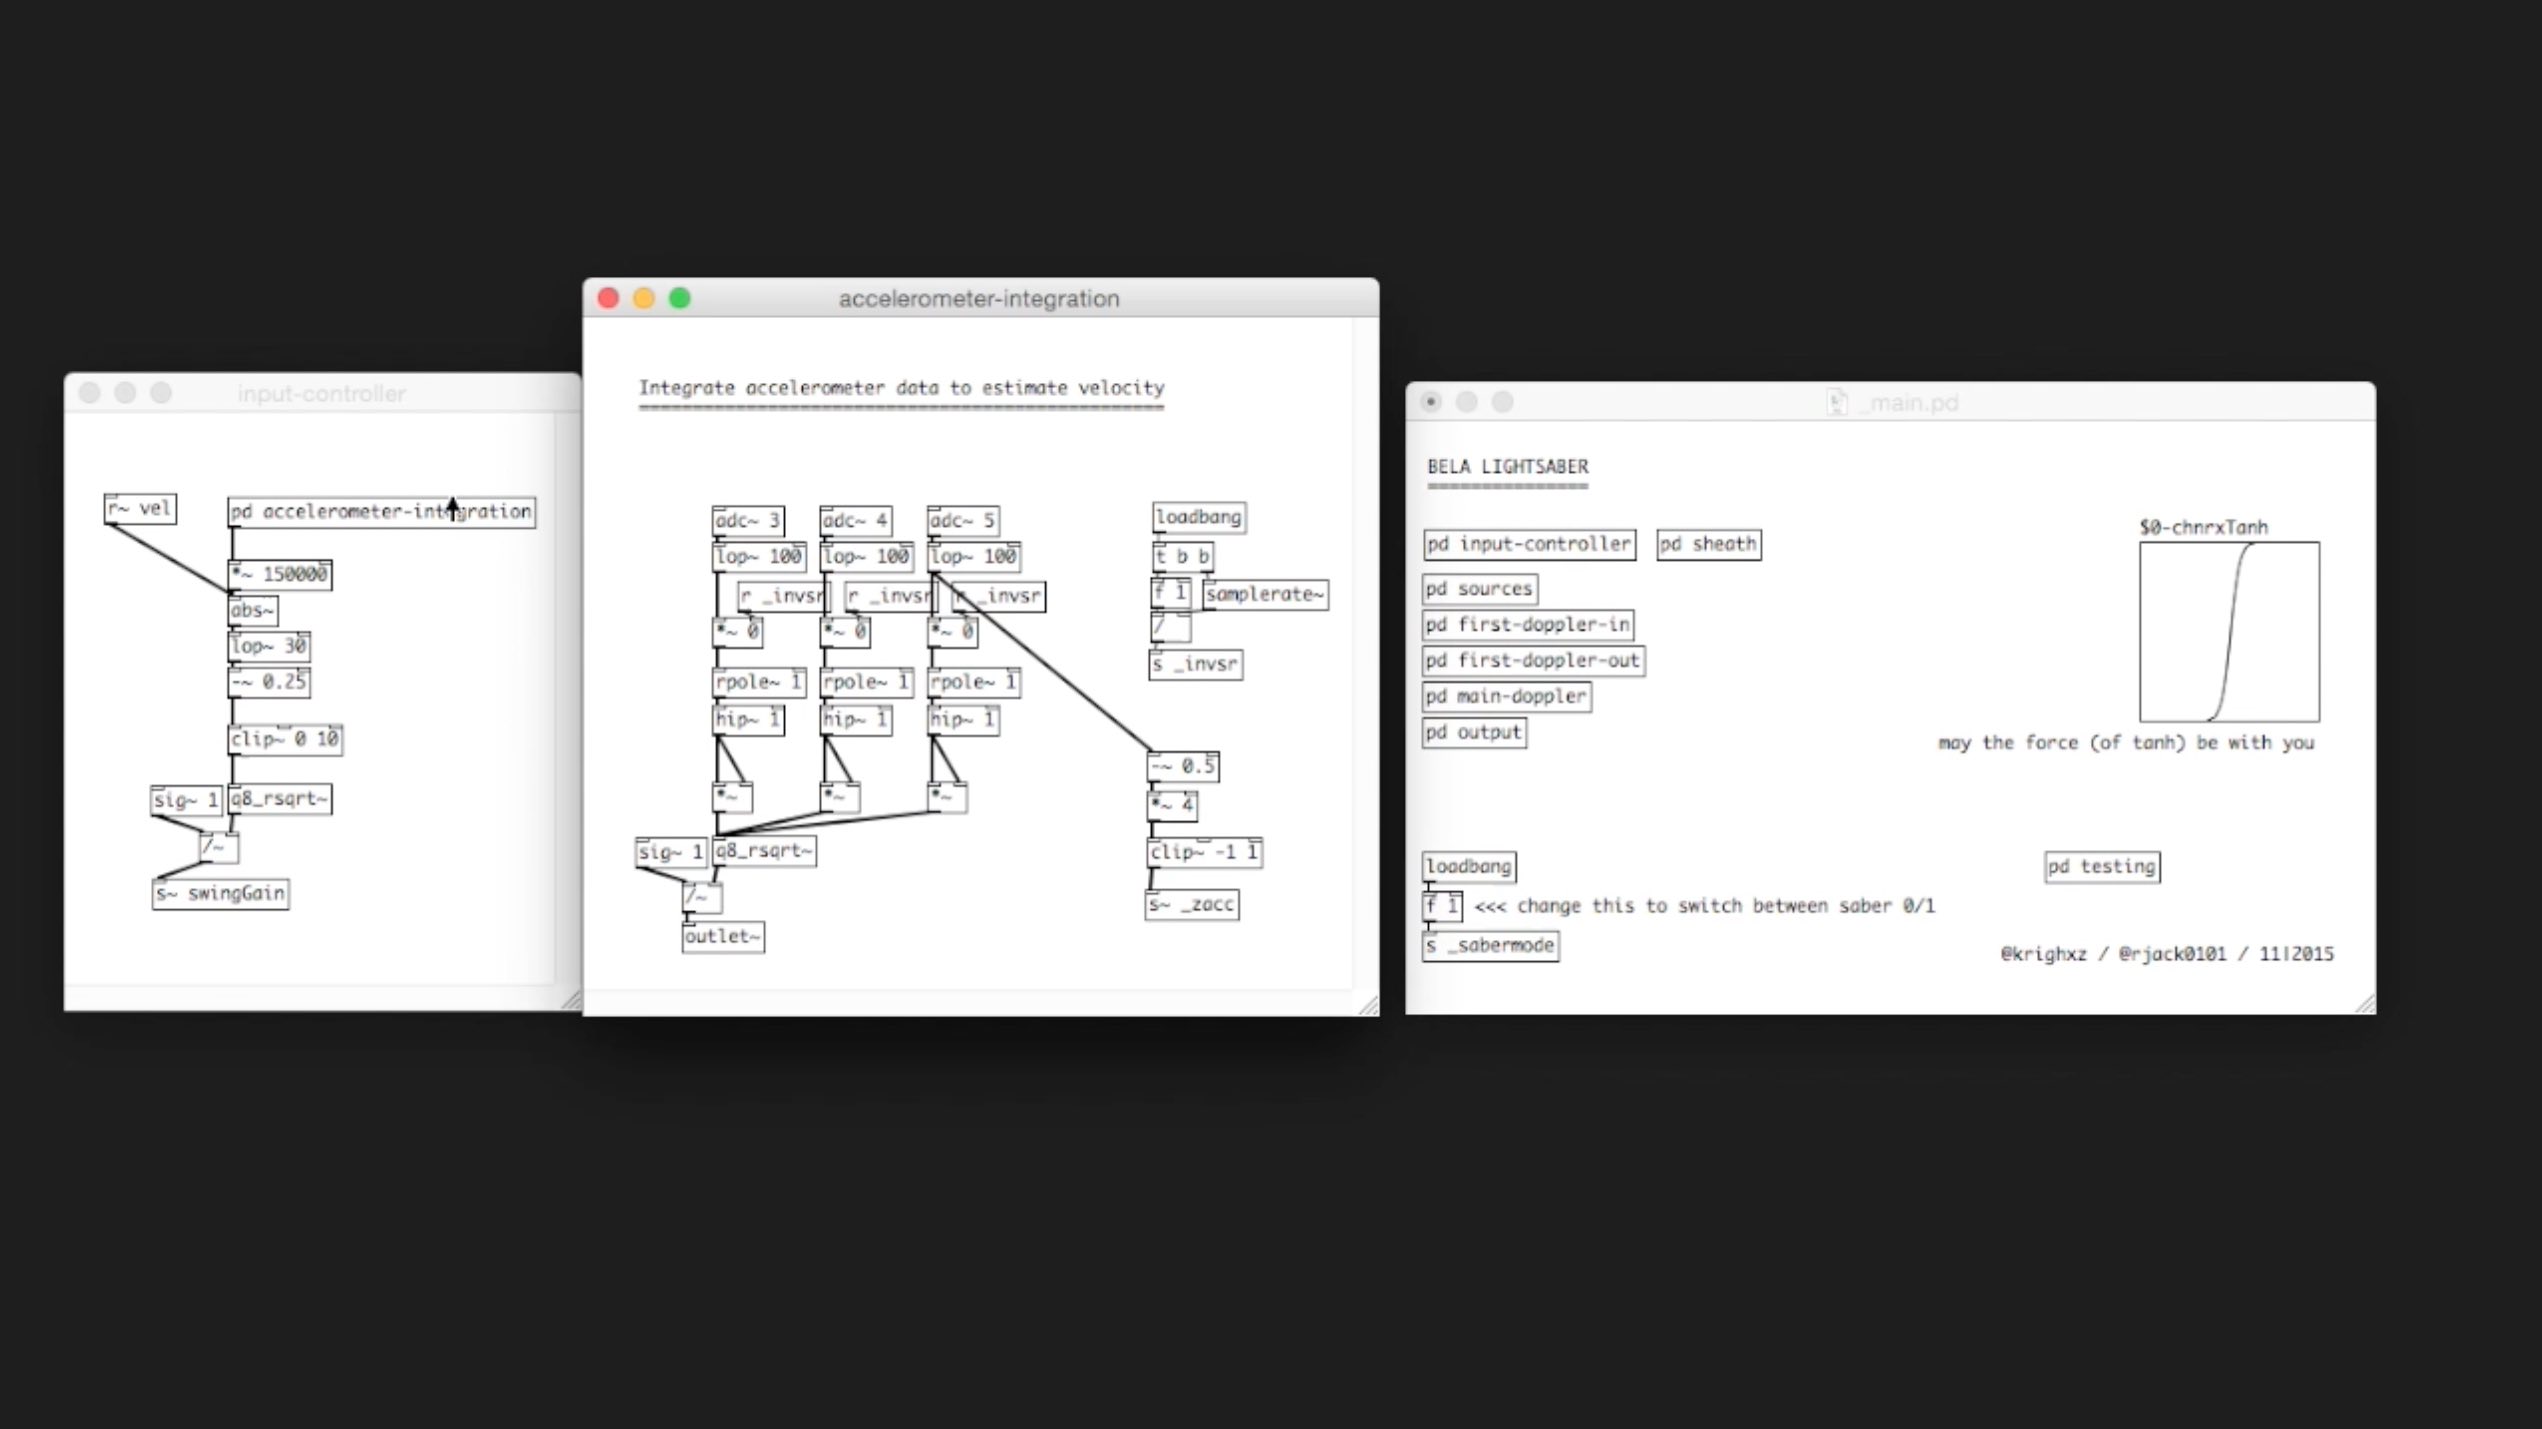
The sound engine that we created in Pure Data consists of two main parts, the shooshing sound that is created when you swing the saber about, and the electric crashing sound that is triggered when the saber impacts with something. The basis of the swooshing sound is a sample of tv hum that is looped inside the patch and passed into multiple delay lines that have a variable amount of delay. When we move the saber, which is detected by the accelerometer, we change the length of the delay. This creates an effect that is very similar to the doppler effect, a perceptual effect that happens with moving sound sources.
For the impact and unsheathing sound we used a noise source with a flanger effect applied that was trigger by the piezo input. This is one of the examples that comes with Bela as an example and if you want to try building your own saber or just want to dig through the code you can find it here: examples/Instruments/saber. Have a look at the video below to see and hear the saber in action and to get more information.
Redesign
Shortly after the intial prototype Ho Huen from the electronics lab at Queen Mary University of London redesigned the saber to incorporate flashing in lights (in both red and blue), a new laser cut holder for the Bela board and battery and speaker that slides perfectly into the new perspex tube. Ho also designed a little breakout board that combines the accelerometer and piezo inputs to make them easier to run down the tube.
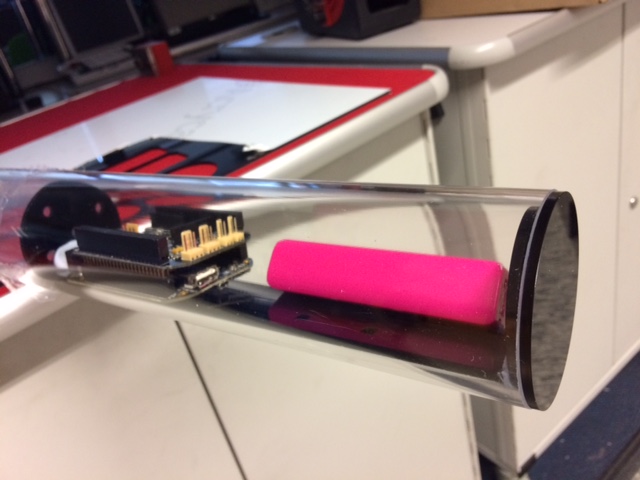
The first redesign of the saber hilt with a retractable cradle for Bela and battery.
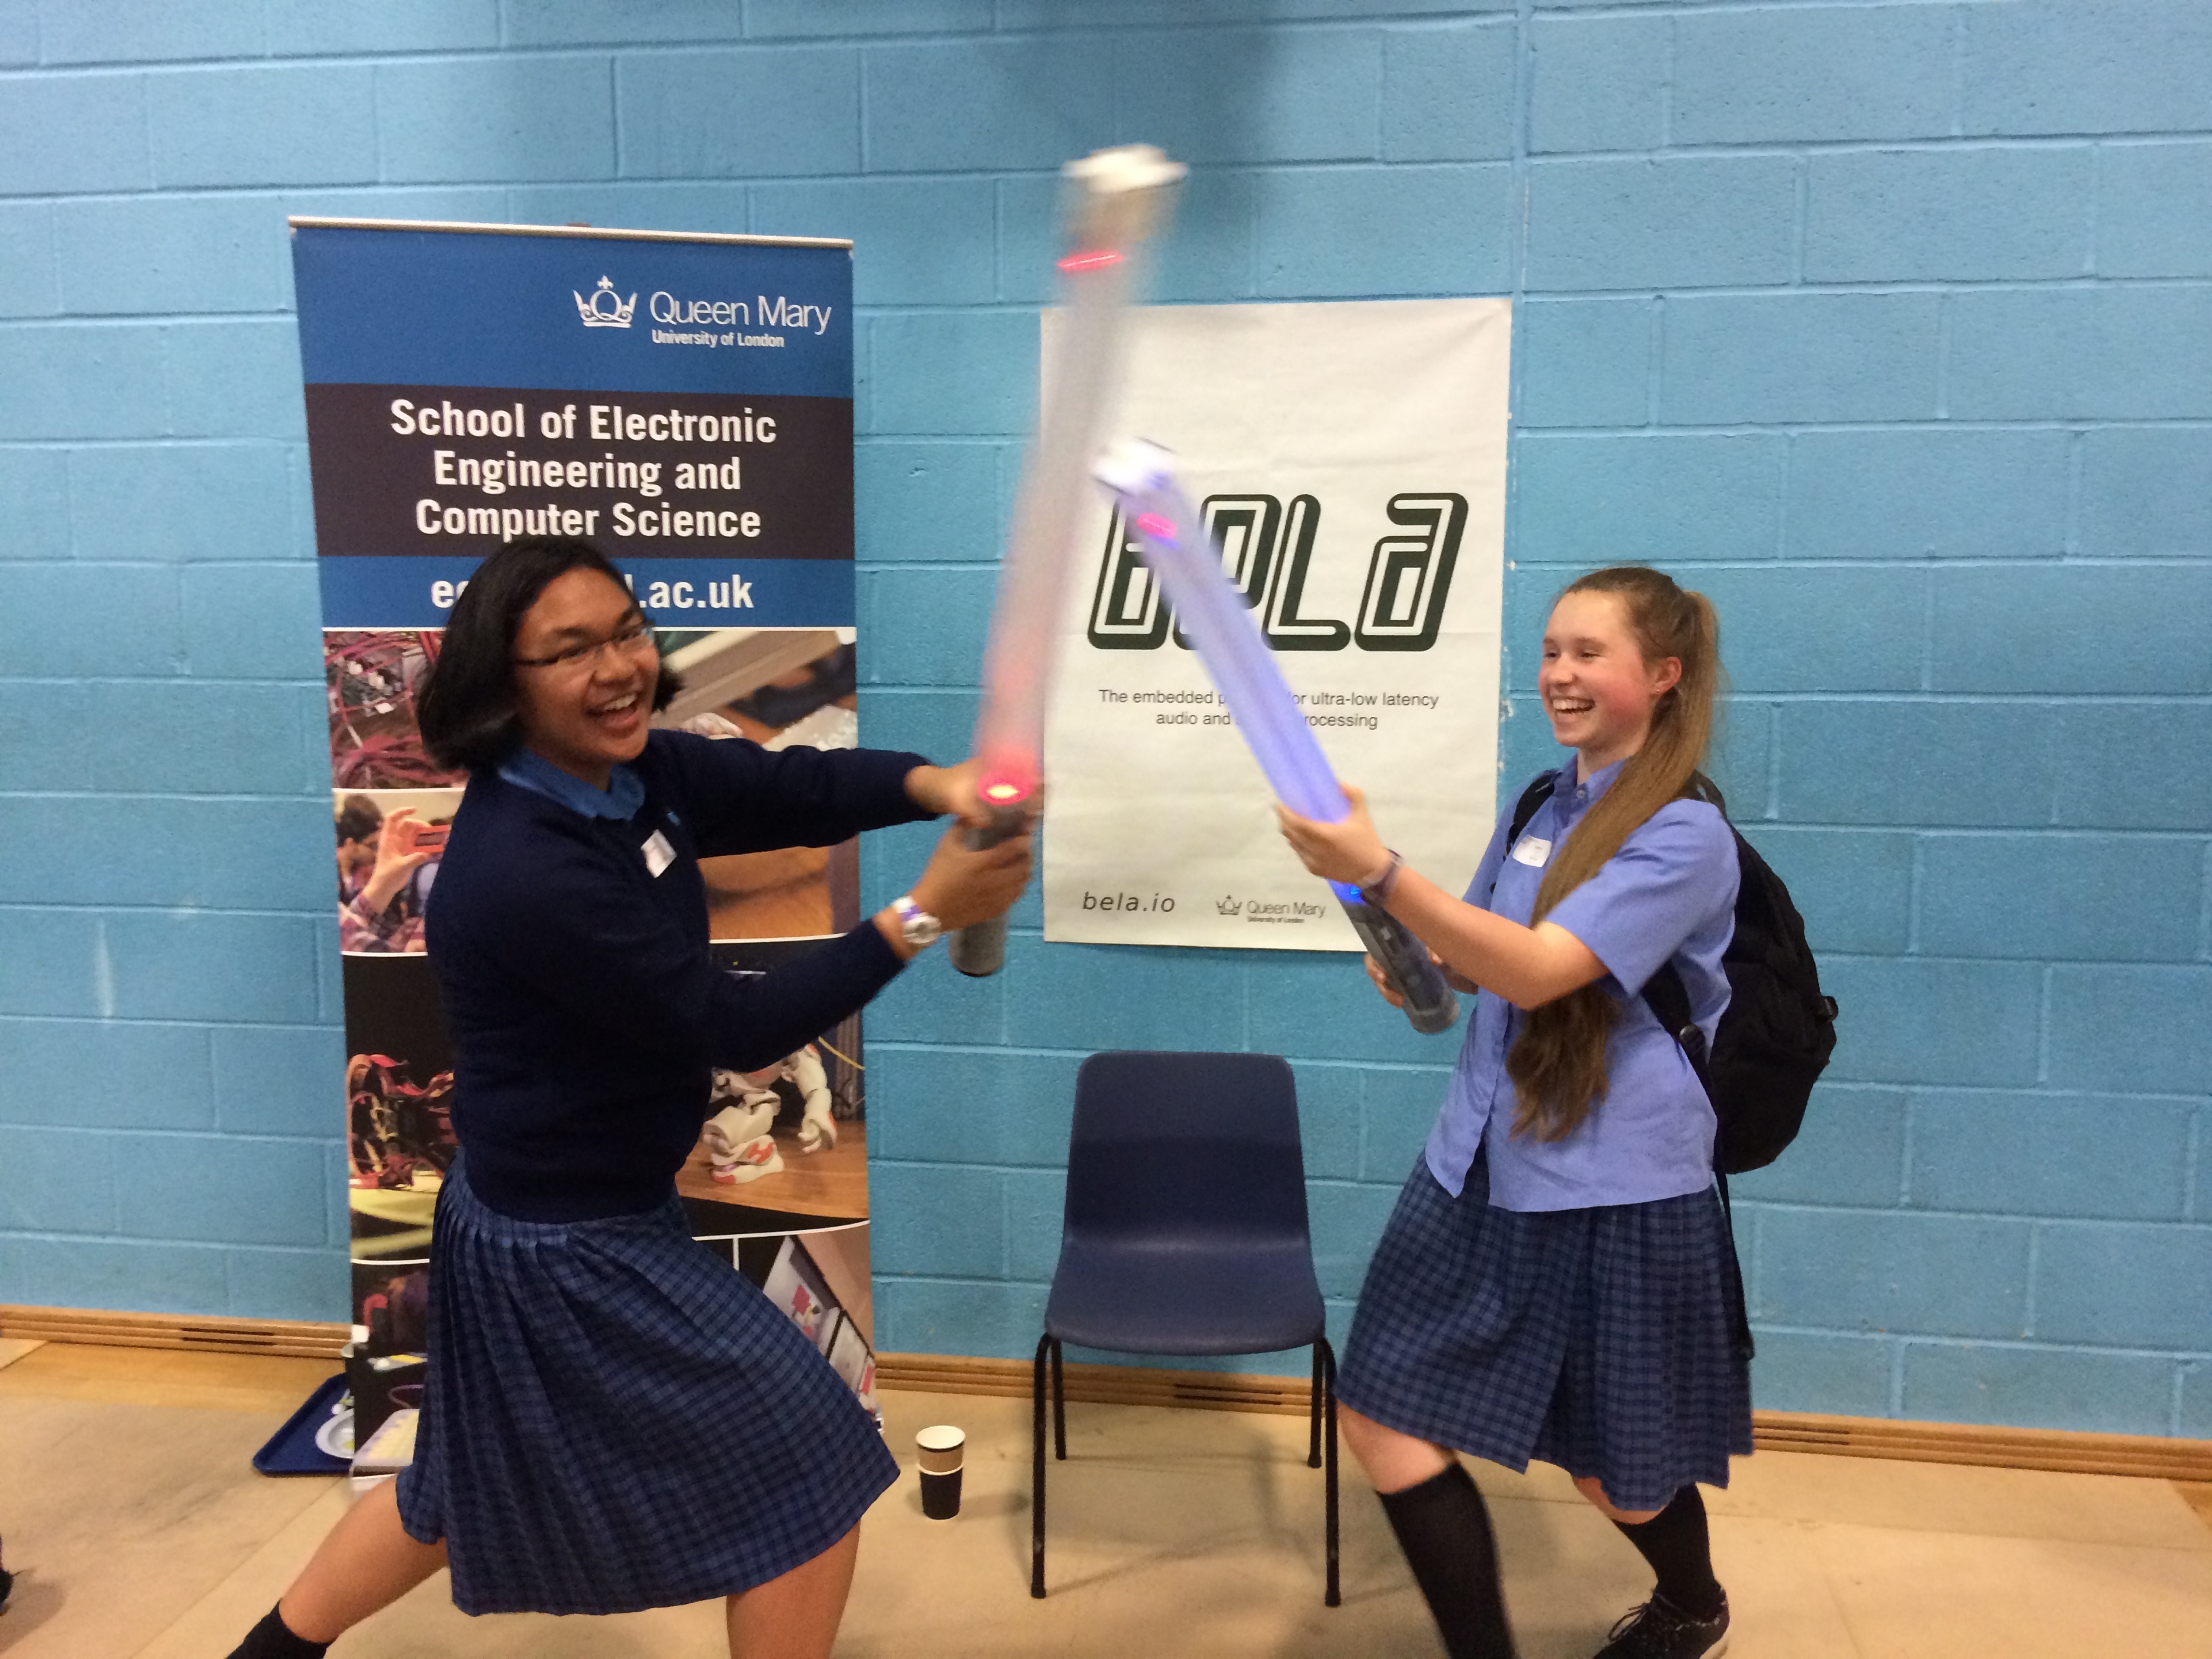
Pushing the sabers to their limits at Sutton Big Bang Science Fair 2016.
Here are some pictures of the next prototype. The goal is to remake the lightsaber into a more lightweight version with brighter lights that can withstand even the most intense duelling.
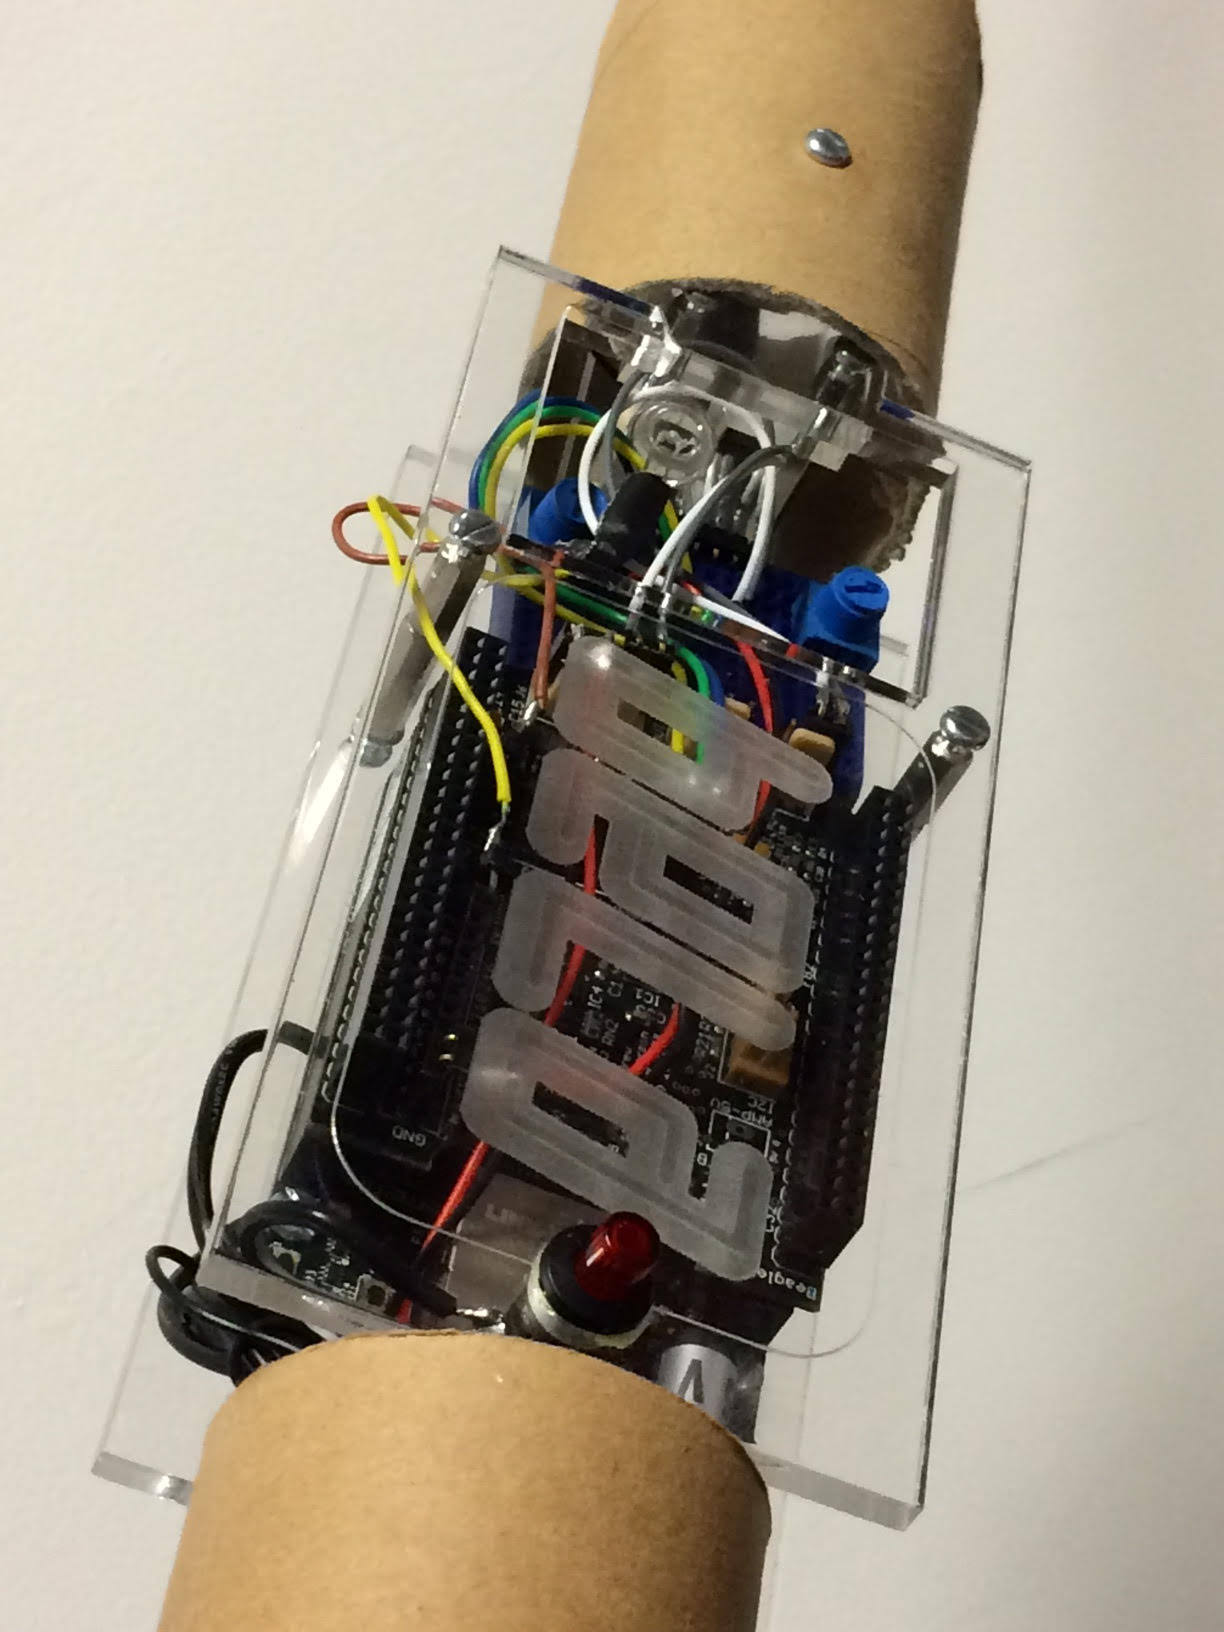
The second redesign of the saber hilt including master power switch with LED and pot for adjusting the LED brightness of the blade.
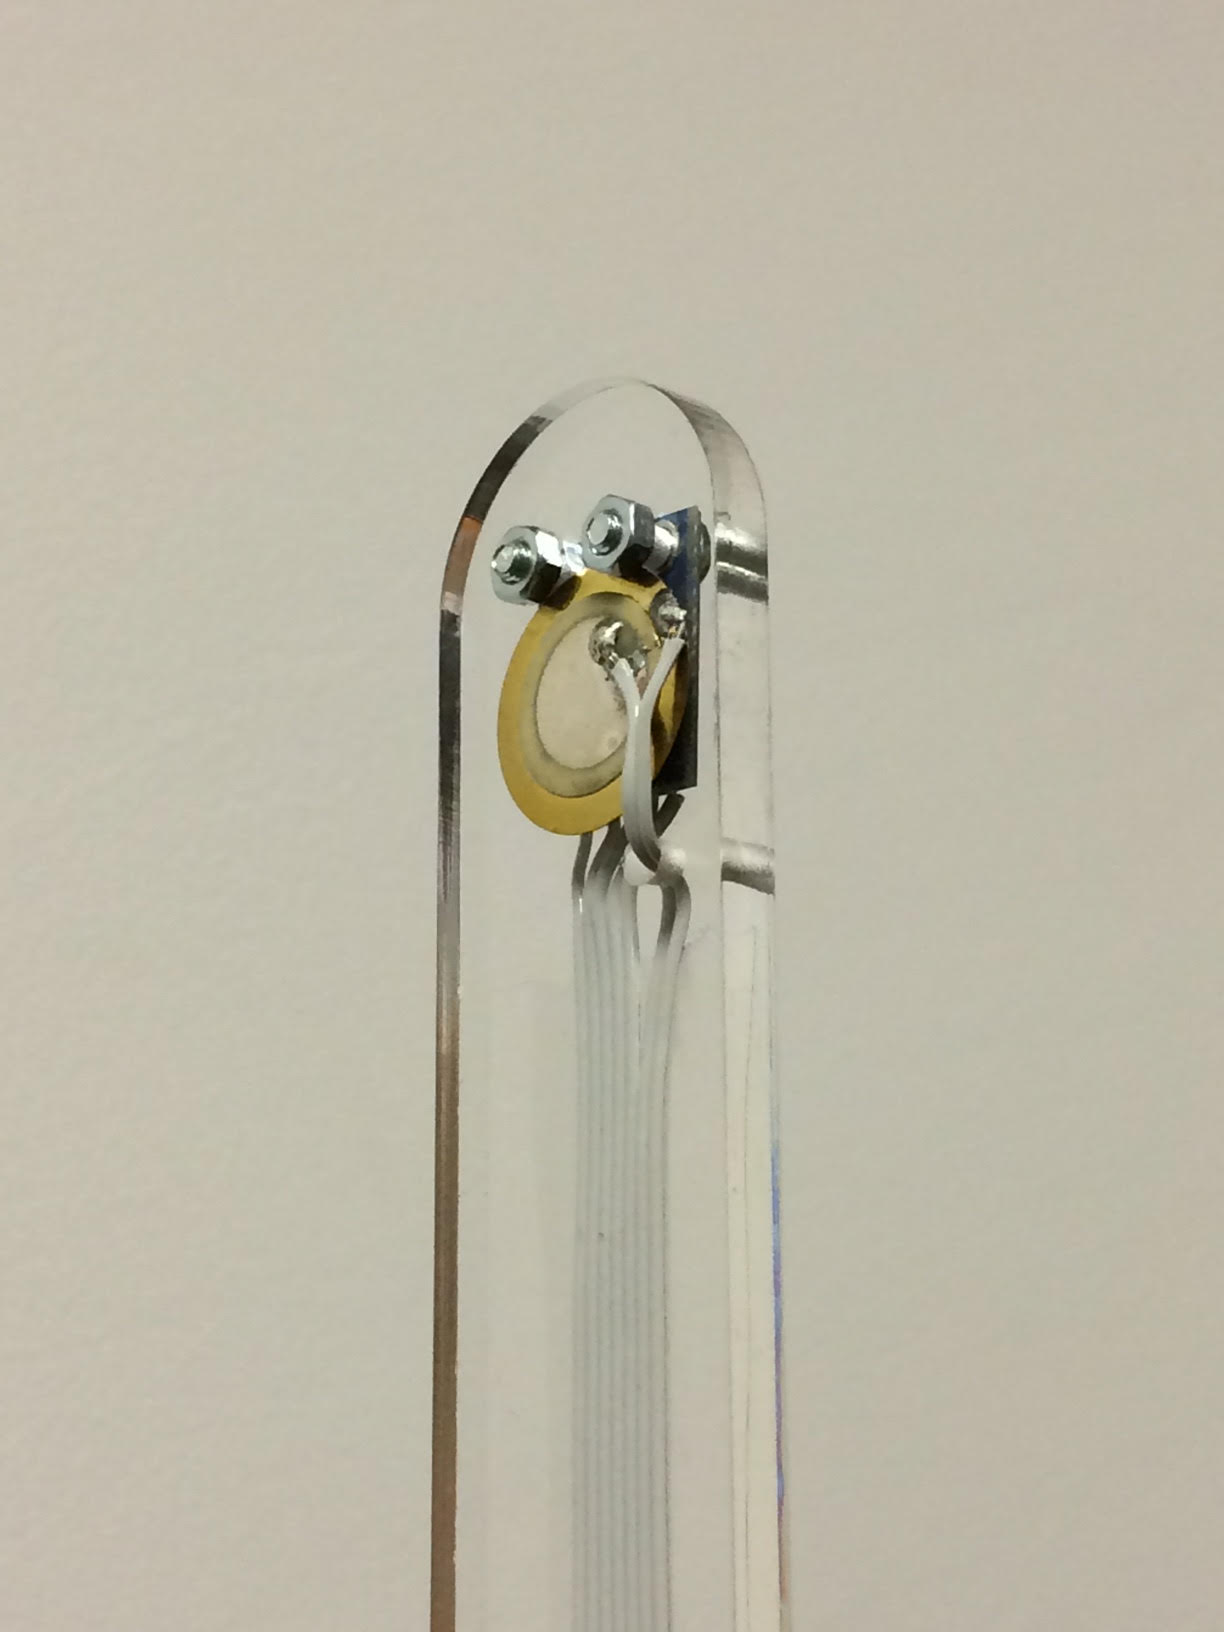
Combining piezo and accelerometer with mini break-out board.
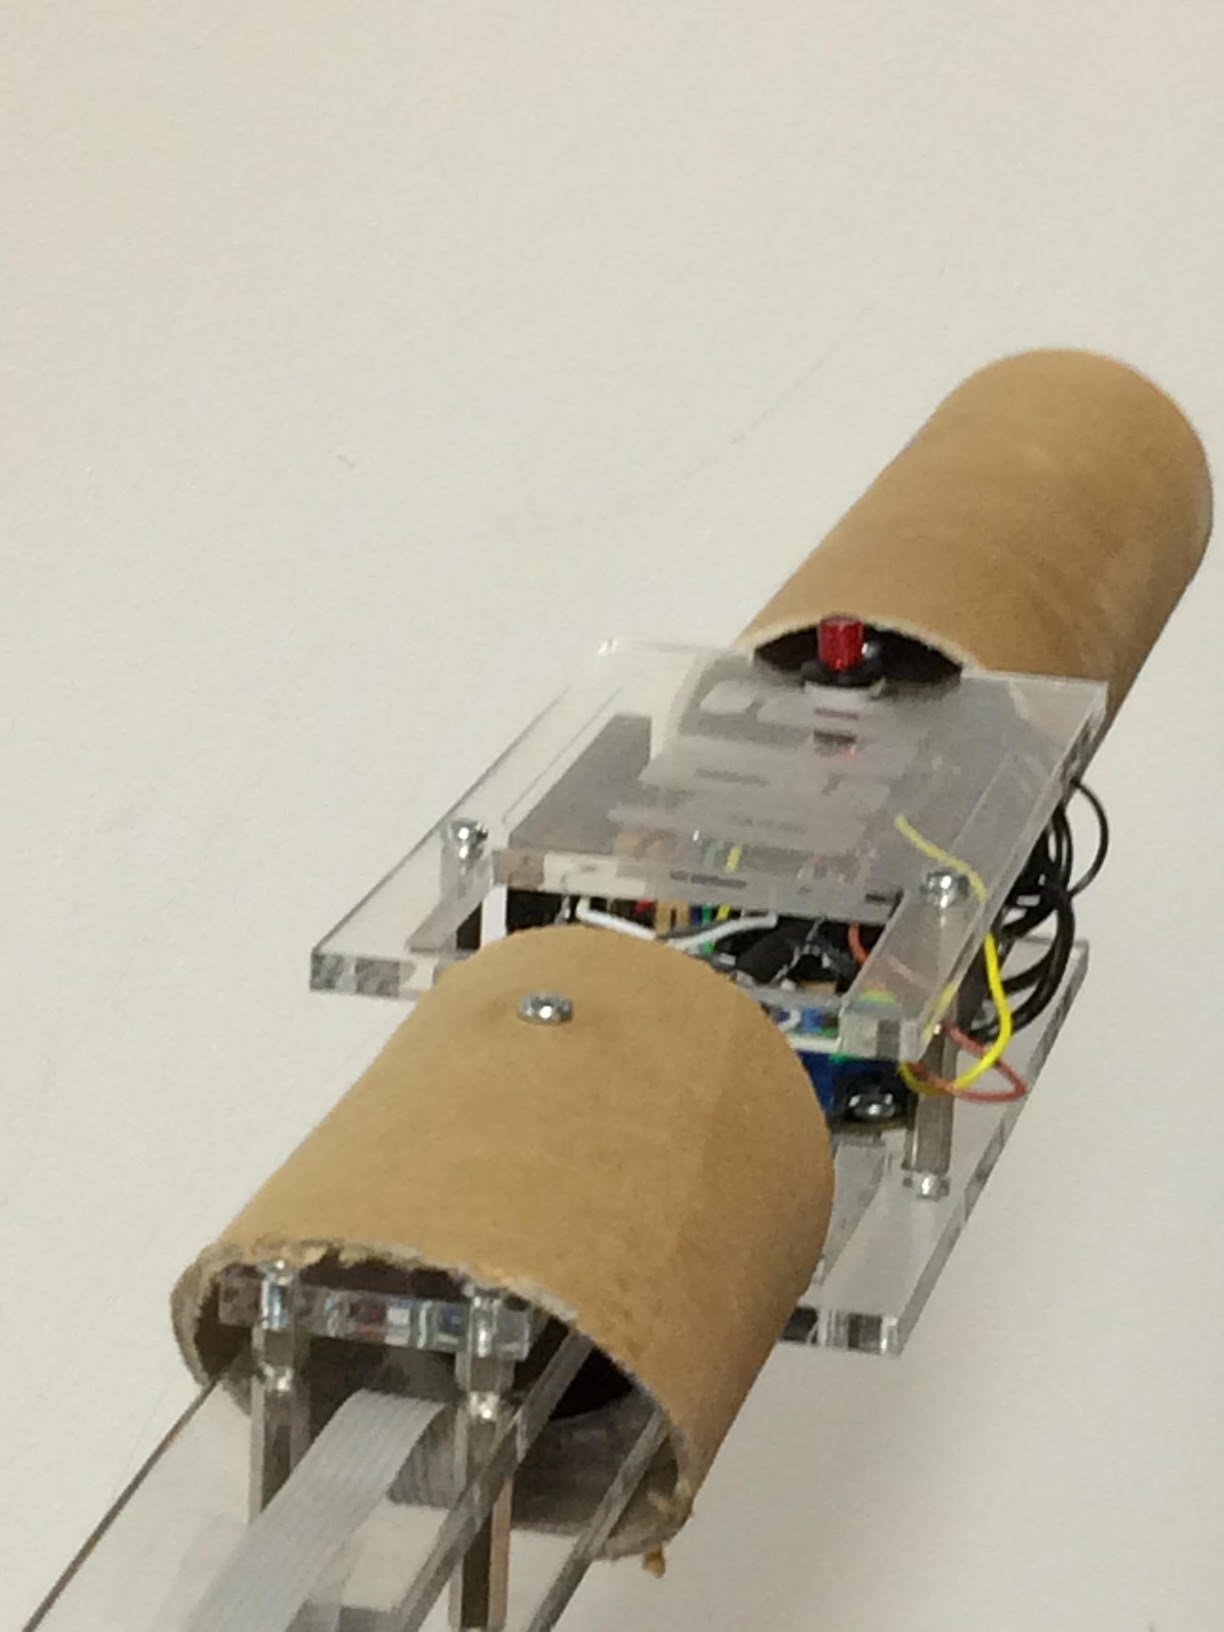
The redesigned hilt from another angle.
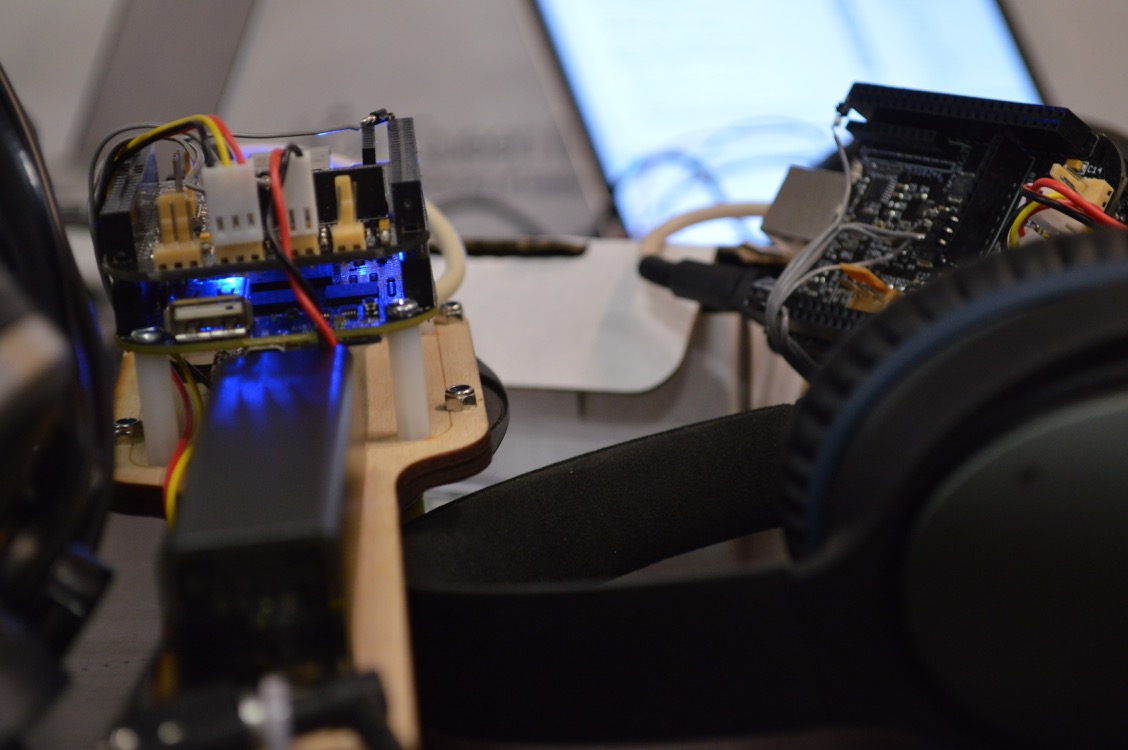
Portable Version: the Vangelisiser
When showcasing Bela we quickly realised that the lightsaber was not the easiest demo to move around. Using the same components we created a minature version of the lightsaber that is able to fit into a rucksack and premiered at Sonar 2016. The result is the vangelisiser, with sound design inspired by the one and only Vangelis.
The vangelisisers on show at Sonar 2016.