Bela + Chirp
Wireless Connectivity through Data-over-Sound
In this blog post the team from Chirp introduce us to their unique data-over-sound technology which allows users to send and receive information via audio transmission. This post will introduce their technology, present some cool uses, and go through a tutorial of how to get Chirp up and running with Bela.
Data-over-sound
How does it work?
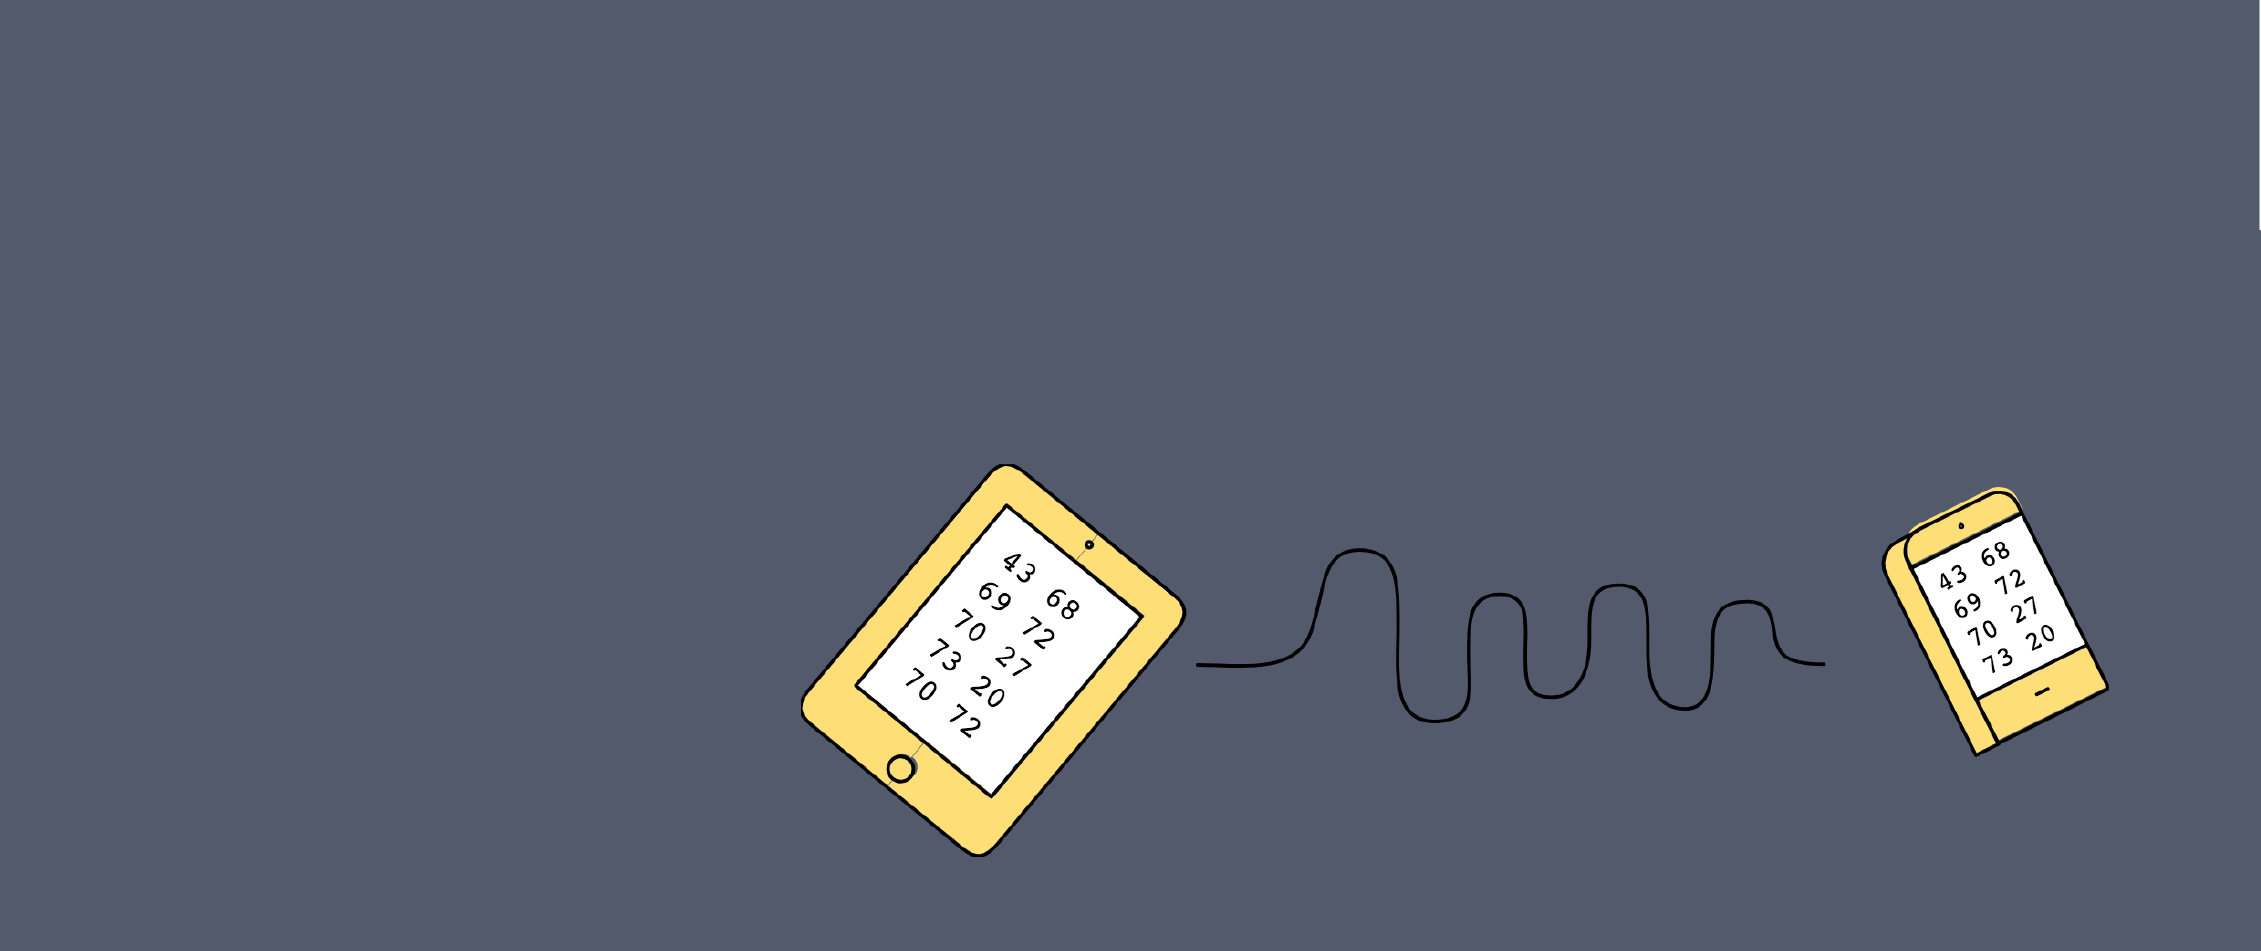
Chirp’s free-to-use data-over-sound SDKs enable devices to exchange data wirelessly using sound, without the need for dedicated modules (e.g. Bluetooth or Wi-Fi). The data is encoded into a series of audible or inaudible tones to form a “sonic barcode” – it’s no more complicated than a traditional telephone modem, but because it’s implemented purely in software it can run on any device with a speaker or mic.
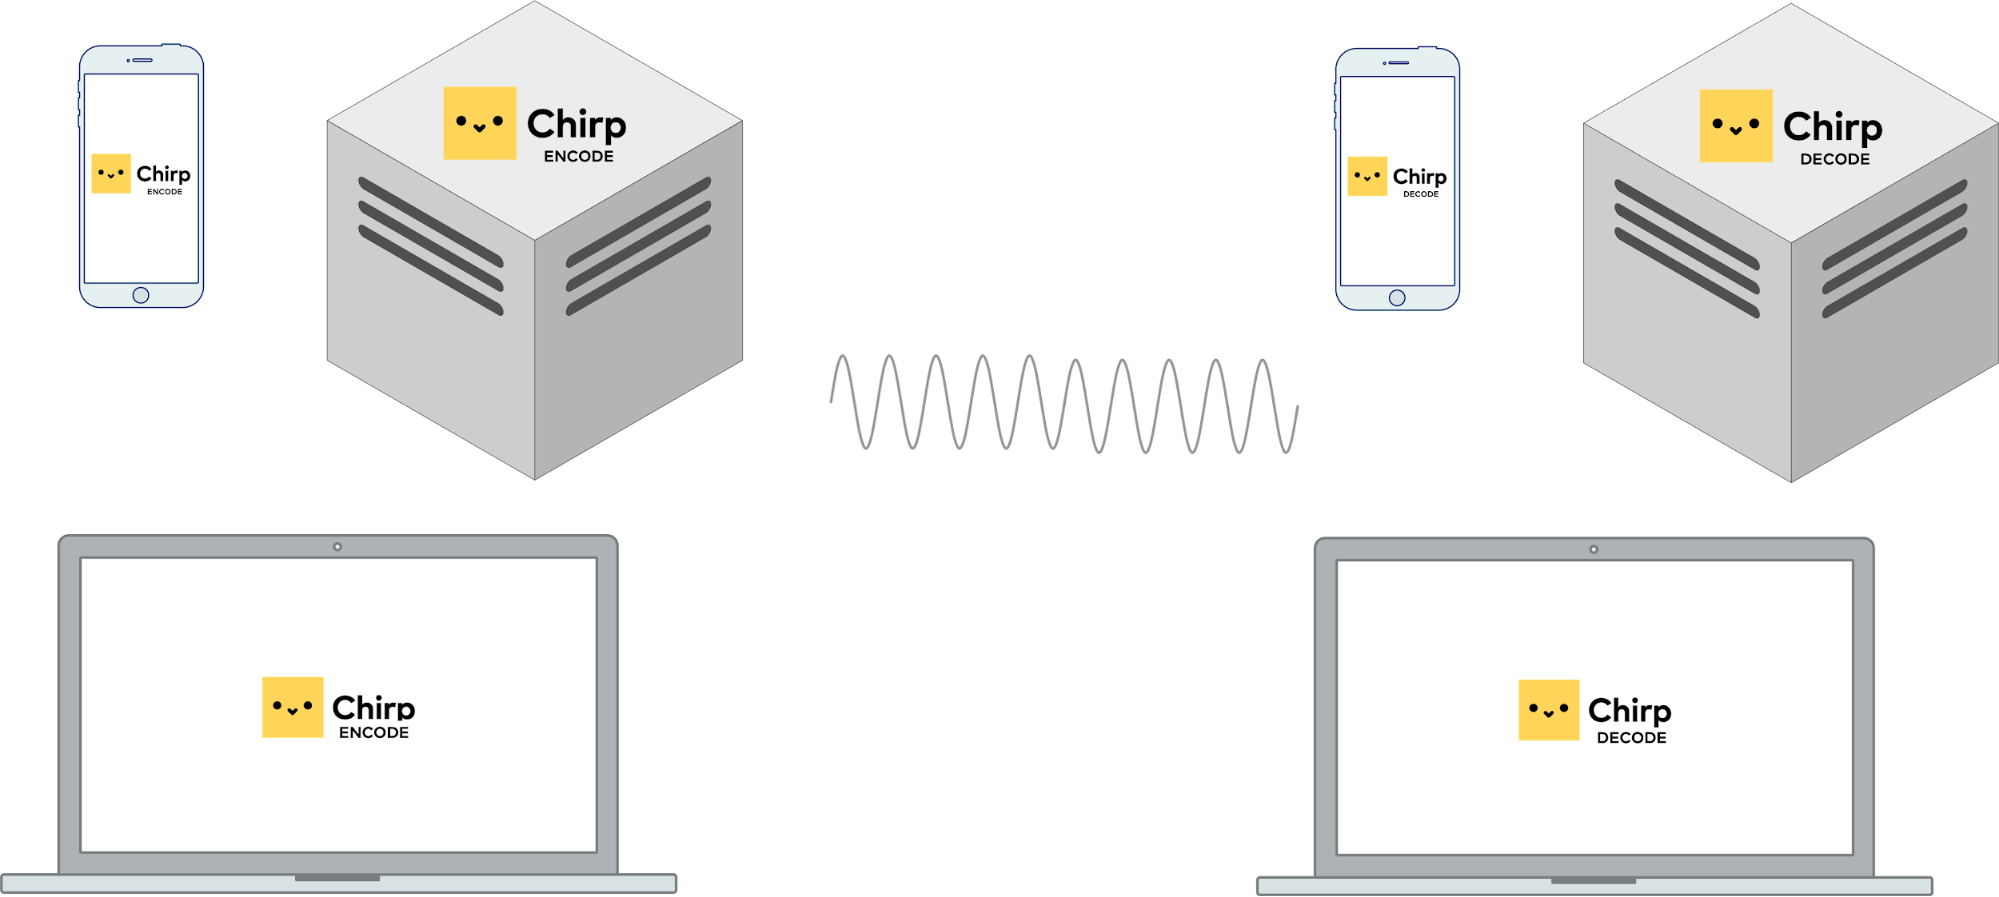
Sending and receiving data using sound requires a transmitter and a receiver. In practice either of these devices can be a laptop, smart phone, tablet, or embedded platform such as Bela. On the transmitter, data is encoded into an acoustic signal, which is played through a medium (usually air, but could be VoIP stream or wired telephone lines) and received and demodulated by a “listening” device (the receiver), which then decodes the audio into the original data.
Chirp uses Frequency Shift Keying (FSK) for its modulation scheme. For spectral efficiency, Chirp uses an M-ary FSK scheme, encoding input symbols as one of M unique frequencies. Each symbol is modulated by an amplitude envelope to prevent discontinuities, with a guard interval between symbols to reduce the impact of reflections and reverberation at the decoding stage (along with some extra DSP trickery to ensure reliable transmission in challenging environments).

As with other data transmission protocols, the entire message can include specific sequences to indicate the start and expected length of a message and to establish timing and synchronisation, as well as additional bytes for Reed-Solomon Forward Error Correction (FEC) error detection and CRC error detection, as shown in the figure below. Encoding a Chirp signal in this manner is a lightweight process in terms of memory and CPU, requiring only the generation of error correction symbols and sinusoidal oscillator synthesis.
What are the benefits of using data-over-sound?
Embedding data in sound provides a quick, secure, and robust way of sharing data that works completely offline, on any existing hardware that has a speaker and/or microphone. It typically operates in broadcast mode, meaning that any device within hearing range can receive the data. It’s interoperable with lots of different platforms, is frictionless to use (no fiddly pairing!), and has low power and memory requirements. Because sound won’t (typically) pass through walls, it can also be used for tasks such room-specific proximity and presence detection.
In general, compared to RF-based communication technologies, data-over-sound can be used in wide application areas, using existing hardware and without setup or configuration.
Chirp + Bela: empowering real-time audio boards using robust audio tech
With all of this in consideration, Chirp’s technology is the perfect candidate to give your Bela board the power of wireless communication. You can send control data to Bela, broadcast sensor data to nearby devices, create a wireless interactive experience where users control the board using their smartphone, or set up a Bela-to-Bela wireless network - the possibilities are endless!
Chirp aims to make its SDKs widely compatible with a myriad of platforms and architectures, including iOS, Android, Linux, macOS, Windows, and the Web Audio API, as well as a range of Arm architectures, including the Arm v7a used by the Arm Cortex A8 processor present on the BeagleBone board.
Given this compatibility, Chirp felt it couldn’t miss the opportunity to try see what it takes to get Bela Chirping. The process was remarkably quick. Integration with the Bela API was straightforward, and led to the example below working almost out of the box - demonstrating both the quality of the audio interface of Bela and ‘drop-in’ nature of the Chirp SDKs.
Tutorial: Bela and Chirp
If you already have a Bela board, try following this tutorial to integrate Chirp and explore what you can do with this new found functionality! The following tutorial uses some files from our example repo.
You’ll need the following materials:
- A Bela board: follow the getting started with Bela page to get your board setup if it is not already.
- Chirp developer credentials: sign up at the Chirp developer hub.
- A microphone: this Electret Microphone works well.
- A speaker.
Once you have everything ready, you can connect the hardware:
Connect the microphone as follows:
- GND –> P9_01
- VCC –> P9_03
- AUD –> LEFT IN
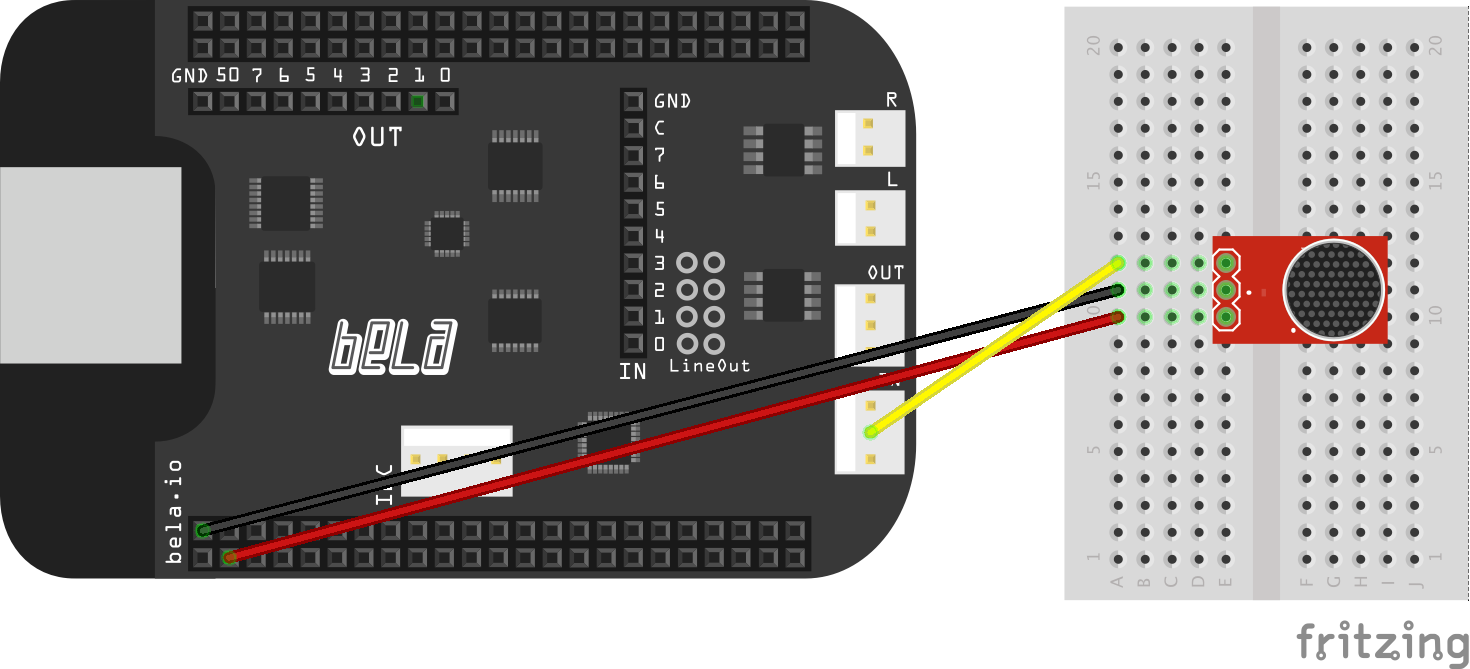
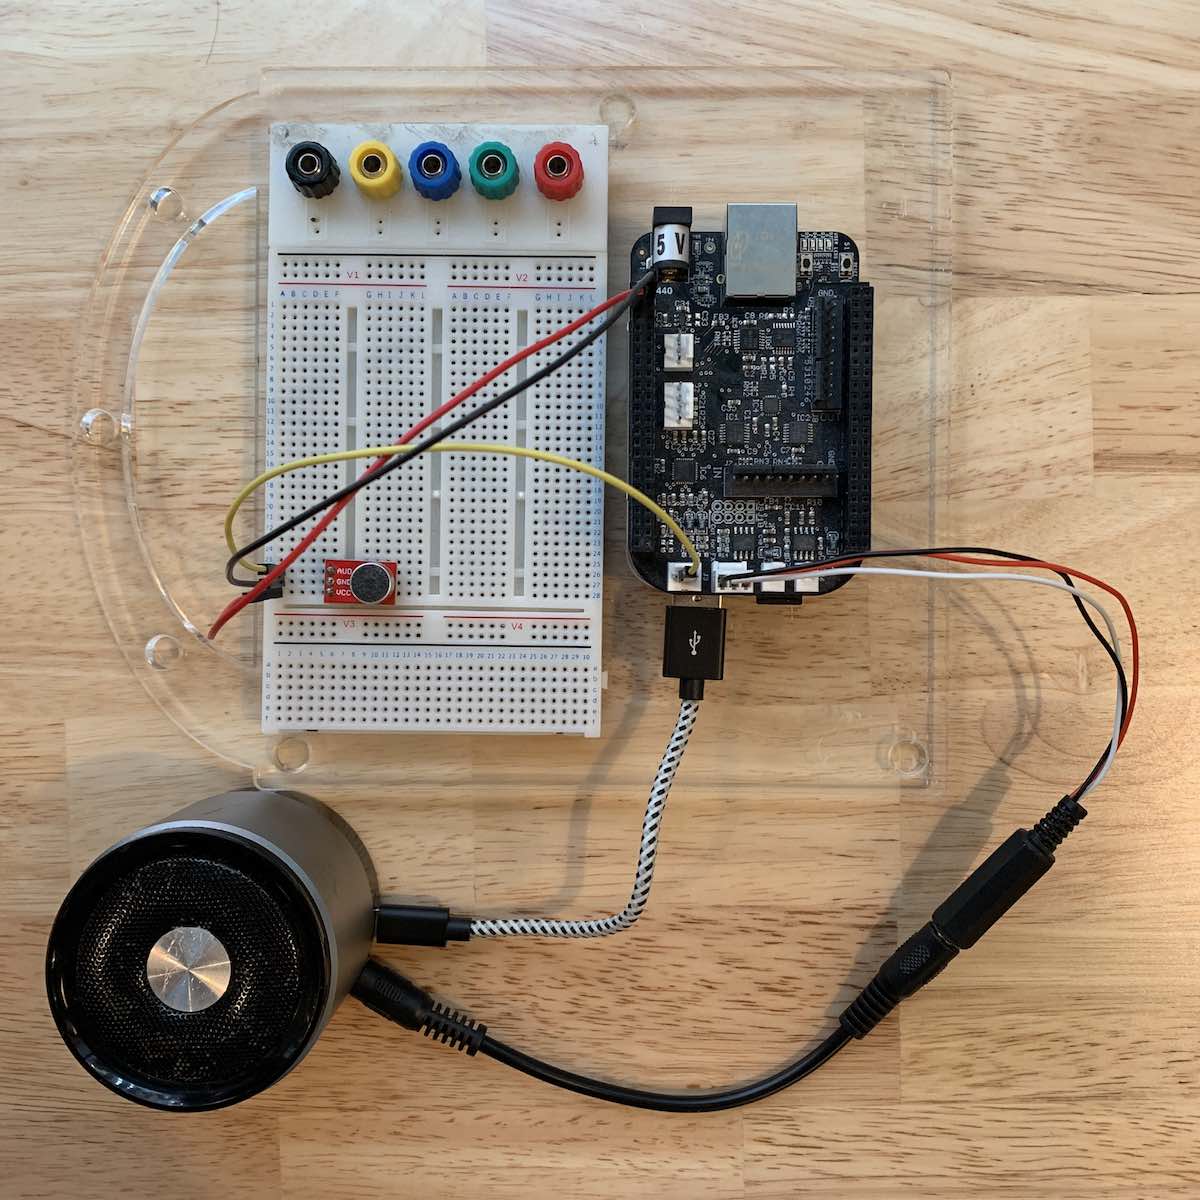
Use the connector shipped with Bela to connect a speaker to the LEFT OUT connector. See the image below for an example set up:
Setting up the Chirp licence:
Copy/paste your Chirp app key, secret and config string into the credentials.h file (this file is part of the example repo).
Configuring and building the project:
- Once the board is plugged in to your computer, wait for it to boot and then go to
http://bela.local/in your web browser. The Bela IDE should open. - On the right, click on the folder icon (Project Explorer) and then in Manage projects click on New project.
- Select the type to be
C++if it is not already selected and enter the name of your project and click on Create. - In Project Explorer click on Upload file.
- Select
libchirp-connect_linux-arm-hard-shared.soand thechirp_connect*.hheaders located in the chirp folder pluscredentials.handrender.cpp(all these files are present in the example repo). A warning window will tell yourender.cppalready exist. Click on Overwrite. At this point the Project Explorer should only display the Chirp files,credentials.handrender.cpp. - Go to the Project Settings, set the Block size to 128 and the sample rate to 44100.
- Finally, paste the following line in the Make Parameters field, replacing
with the name of your actual project : LDFLAGS=-L/root/Bela/projects/<name_of_your_project>;LDLIBS=-lchirp-connect_linux-arm-hard-shared;
That’s it! It’s done. Save, compile and run the project.
In this example we show how to implement both sending and receiving on a single board. The string “Hello World !” will start to be Chirped out of the speaker as soon as the program starts, and will be received at the microphone and decoded at (almost) the same time.
The output in the console should match that below (except the first line which will depend on the config and the version of the SDK being used):
bela : Chirp Connect with "16khz-mono" config v2 [max 32 bytes in 4.48s], supporting 1 channel(s) - Version : 3.2.9
bela : State changed
bela : Sending data
bela : State changed
bela : Receiving data
bela : State changed
bela : Data sent
bela : State changed
bela : Data received : Hello World !
From a web browser to an embedded computer, you can now explore the possibilities of having a device capable of interacting with any other device compatible with Chirp. Let us know what projects you create!
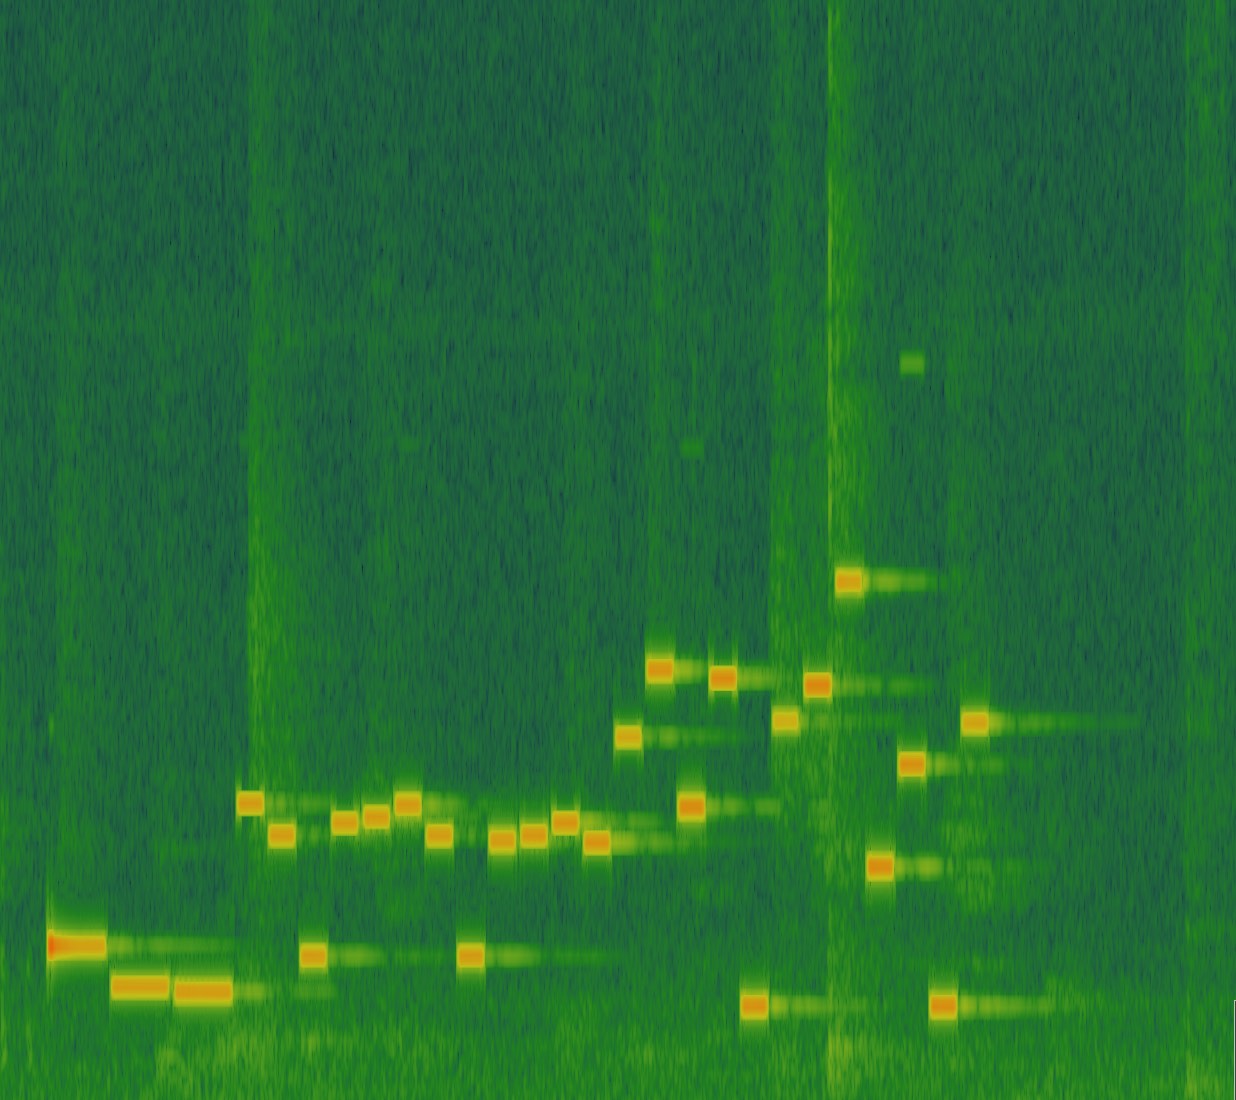
And to finish up, here's a Chirp of ‘we love bela' using our standard audible protocol!