Kobakant Blanket
An interactive blanket built with Bela and Pure Data
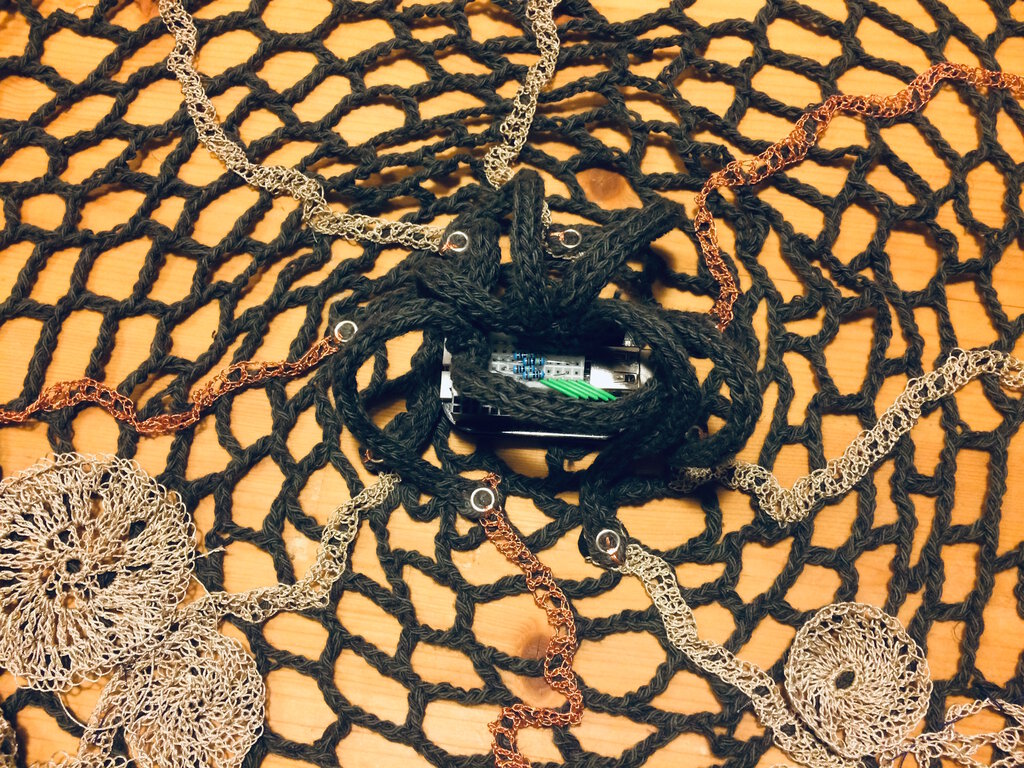
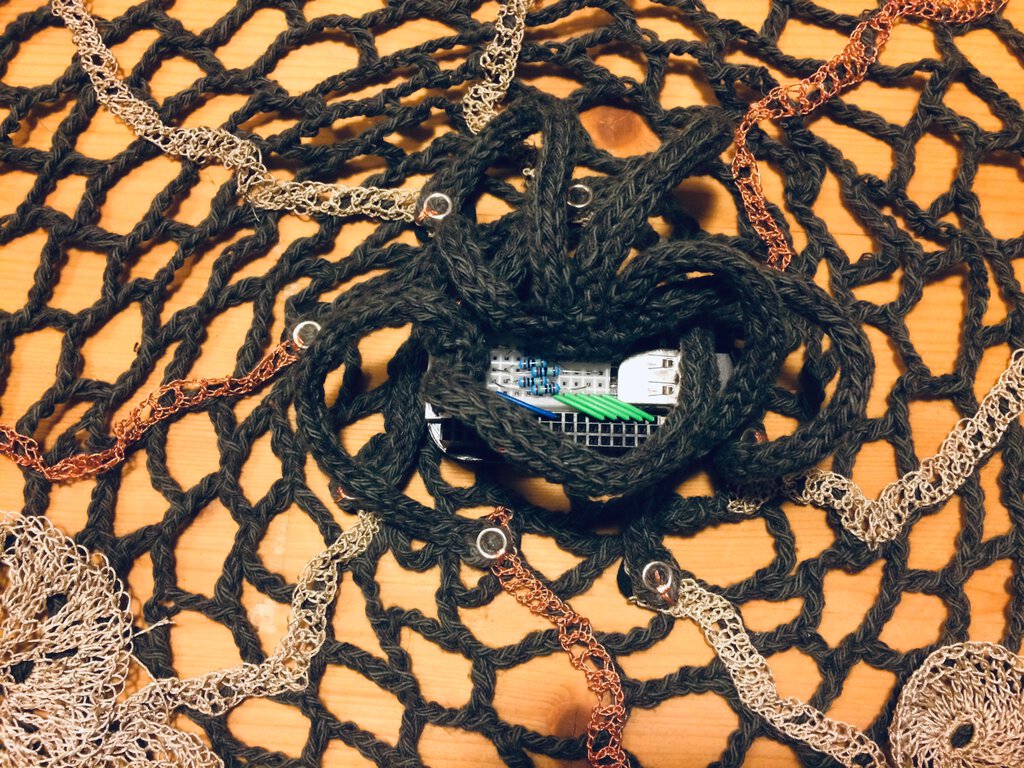
Mika Satomi from Kobakant has created an interactive blanket that uses Bela with e-Textile sensors. They made a crochet blanket with exposed conductive pieces so one can use skin resistance to play music by touching different parts of the blanket.
This blanket was originally created for a small workshop and was connected to a Teensy LC sending data to MaxMSP on a computer via USB serial. This time Mika extended the project to work with Bela running Pure Data on board. This experiment investigated the best ways to connect textile sensors to Bela.
The code that is running in this example is a PD patch based on a patch created by Esteban De La Torre of EJTech and Andrea Guidi from the Augmented Instruments Lab. It is simplified to just trigger sound files when crossing a threshold – the sound files were also created by Esteban.
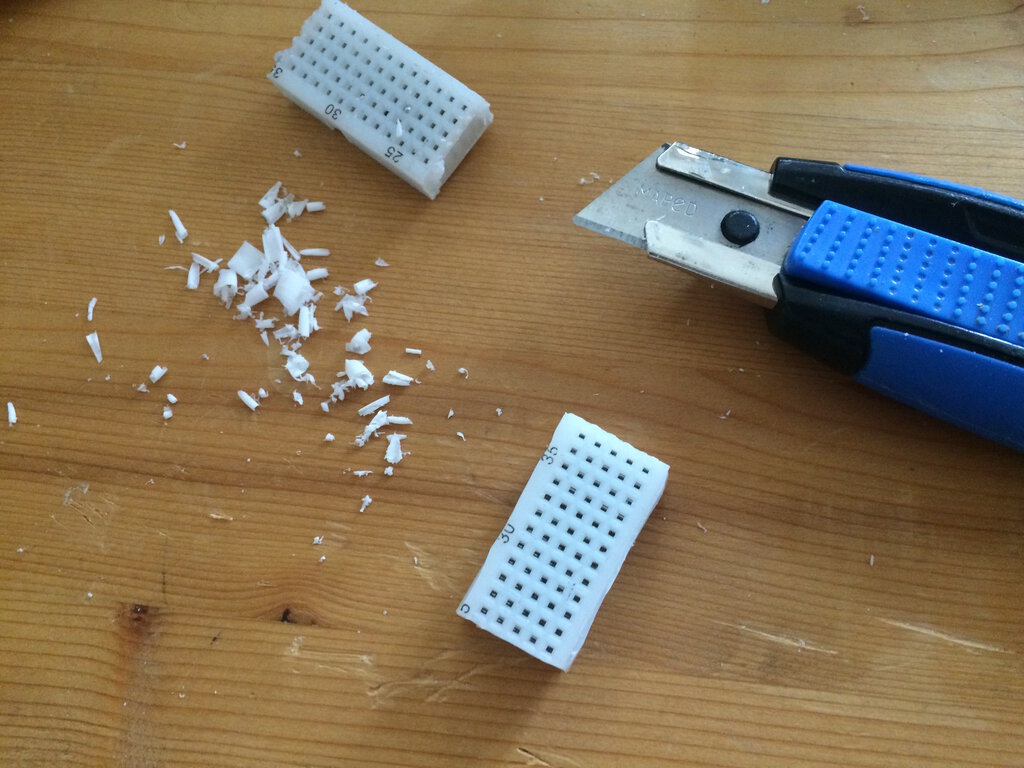
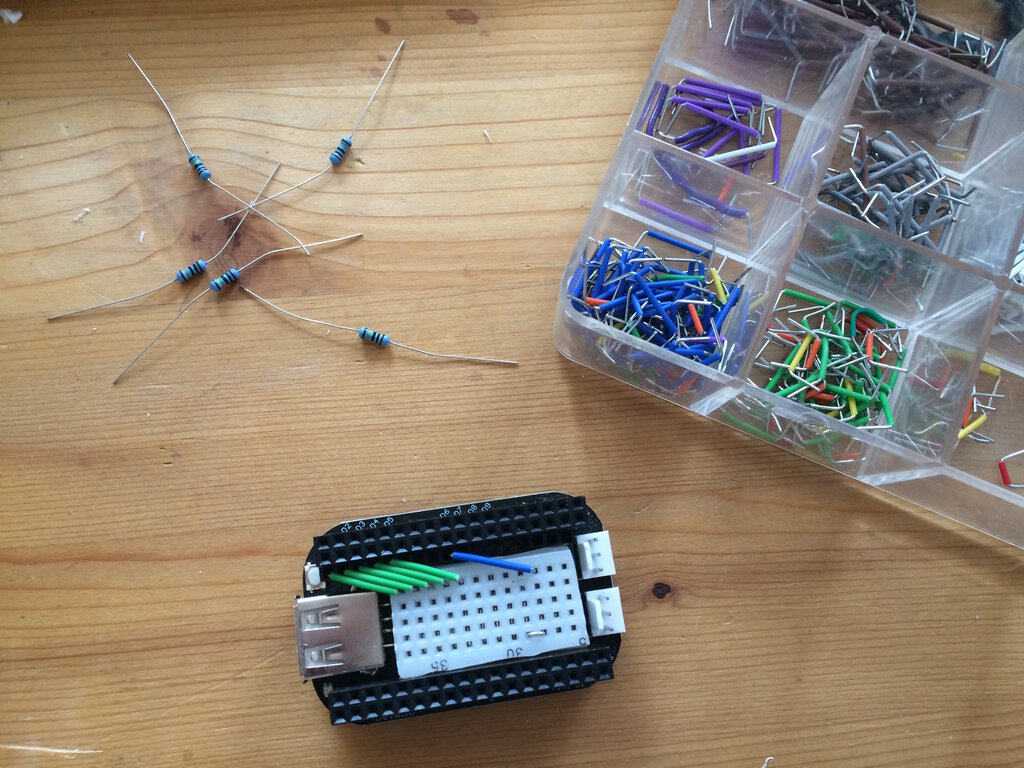
Breadboard
The first step was to add a small breadboard on top of Bela for experimenting and changing circuitry as the prototype developed. “There was a cut-up breadboard in the studio already, so I cut it even smaller. Half of the standard breadboard width fits perfectly in the middle of Bela.”
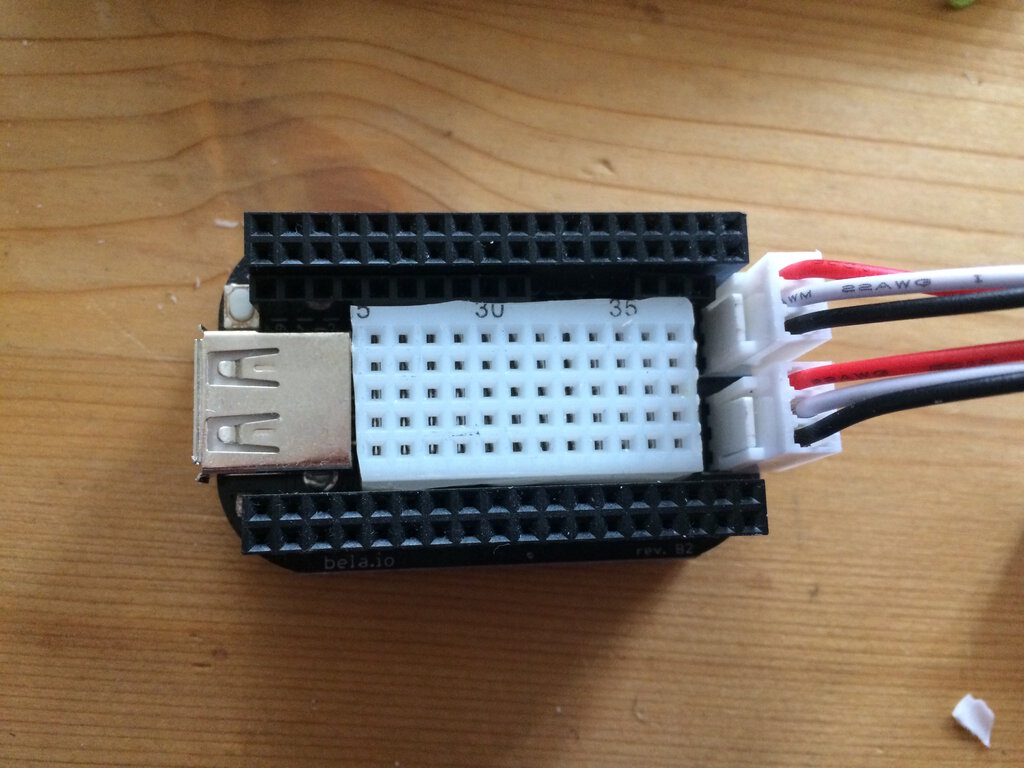
Standard breadboard jumper cables and wires were then used to create temporary circuit connections to Bela. In this case, Mika developed resistive sensors with the analogue input pins by building voltage divider circuits.
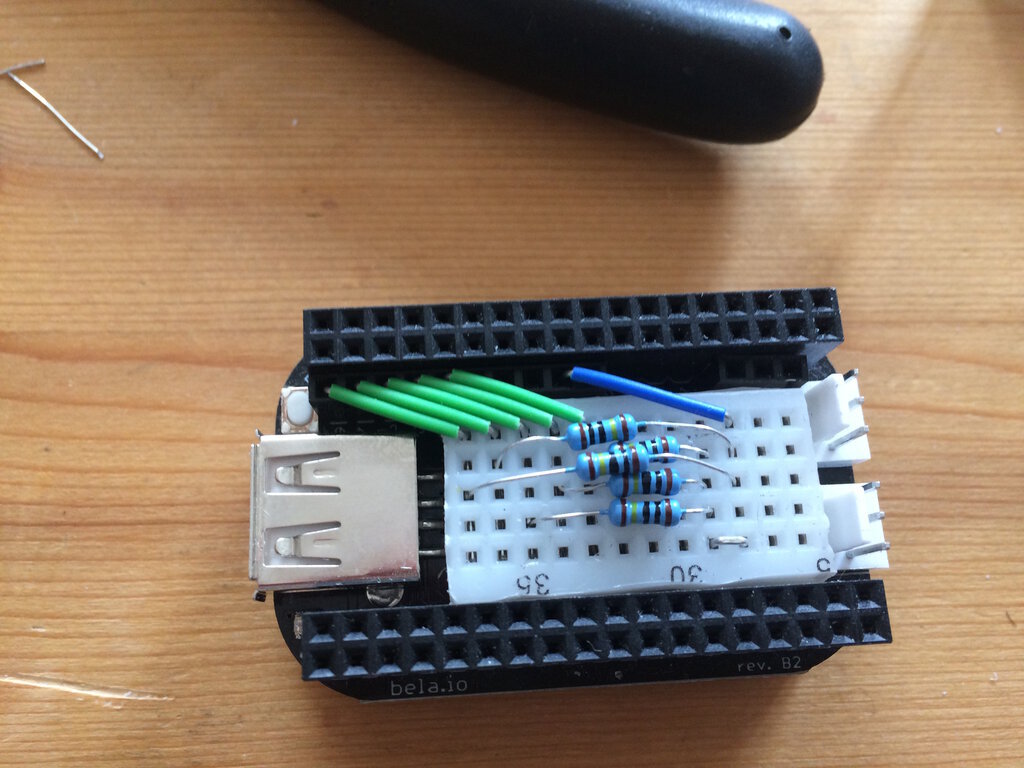
To connect the breadboard to the textile sensors, she made knitted cables with a popper on one side for the textile connection and a 2.54mm header pin on the other side for the breadboard.
Knit cable
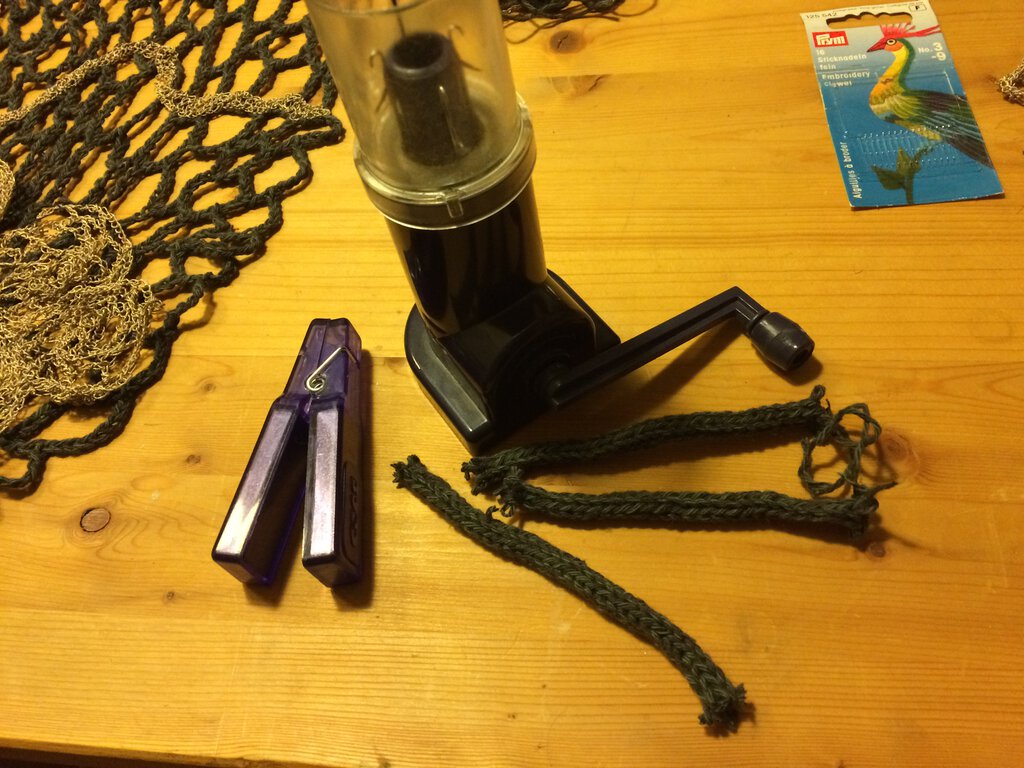
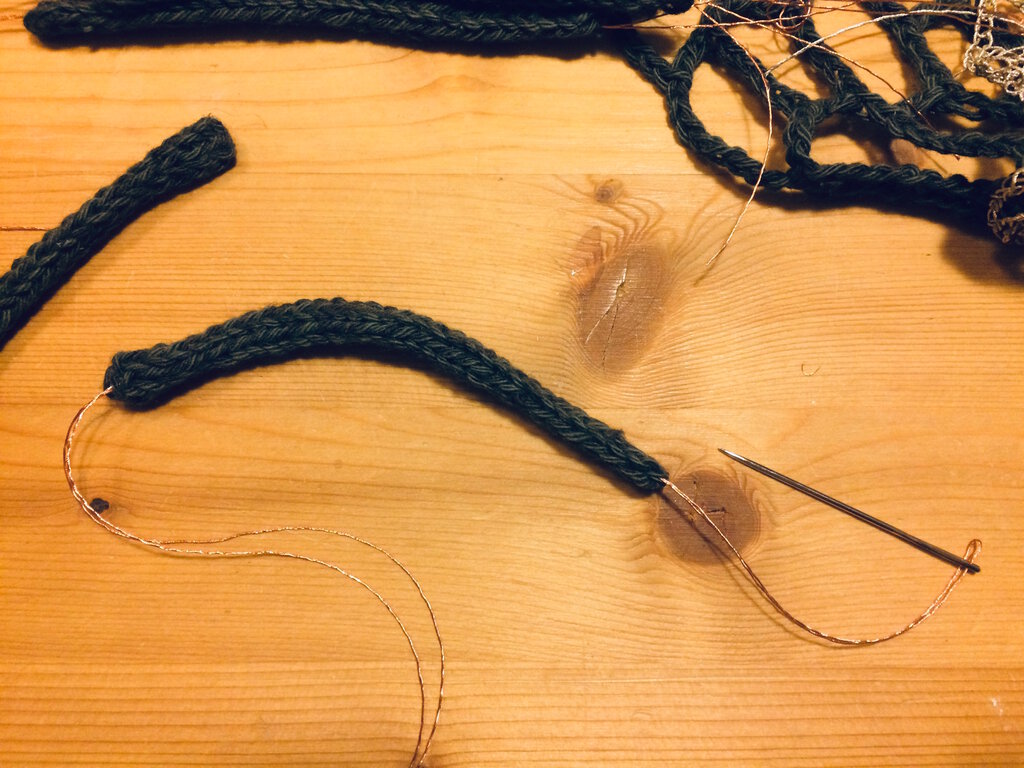
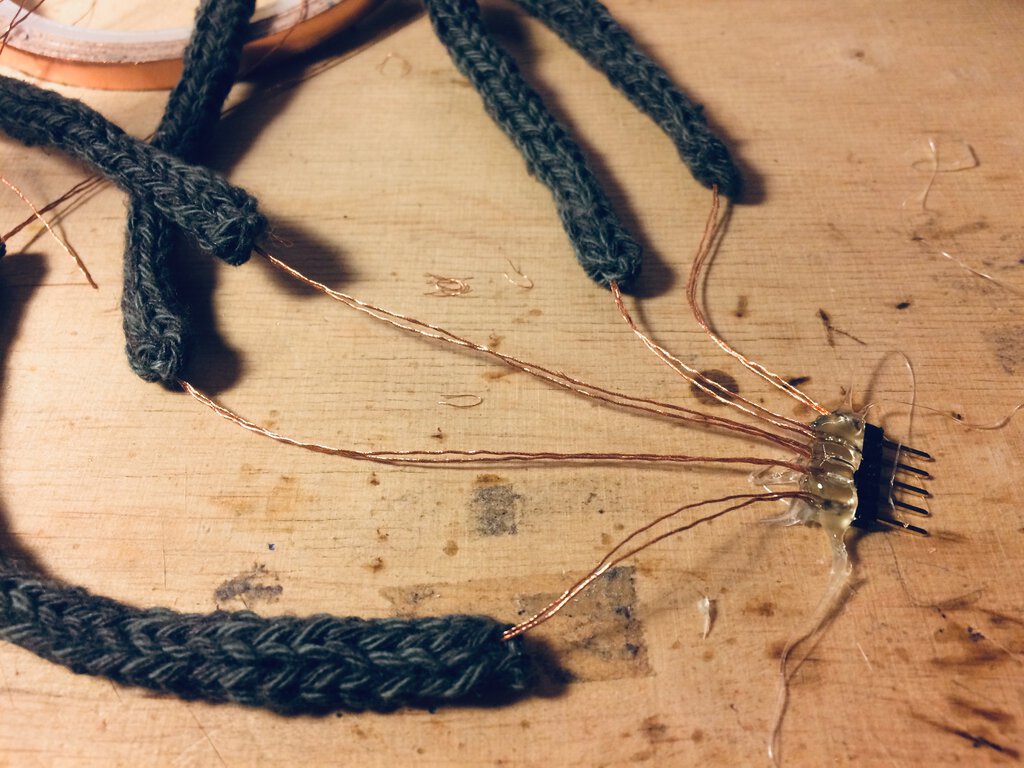
The knitted tube was made with a knitting mill. Then it was cut into the length needed and closed with a crochet hook. Next, conductive thread (in this case Mika used Karlgrimm copper thread in double) was inserted using a thick needle.
The ends of the conductive thread were each soldered onto a header pin. Hot glue was then added on the connection so that bending and pulling did not strain the solder joint.

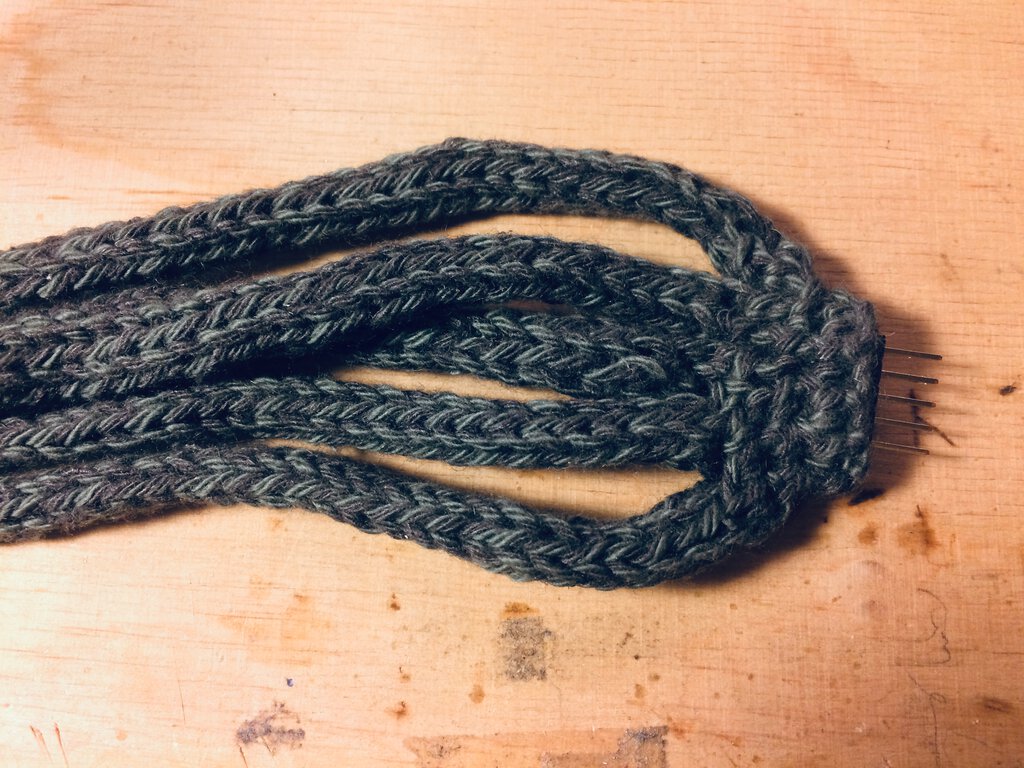
After soldering and hot-glueing, Mika connected the knitted tube ends with crochet hooks and added a few more rounds of crochet up to the header pin to cover the glue.
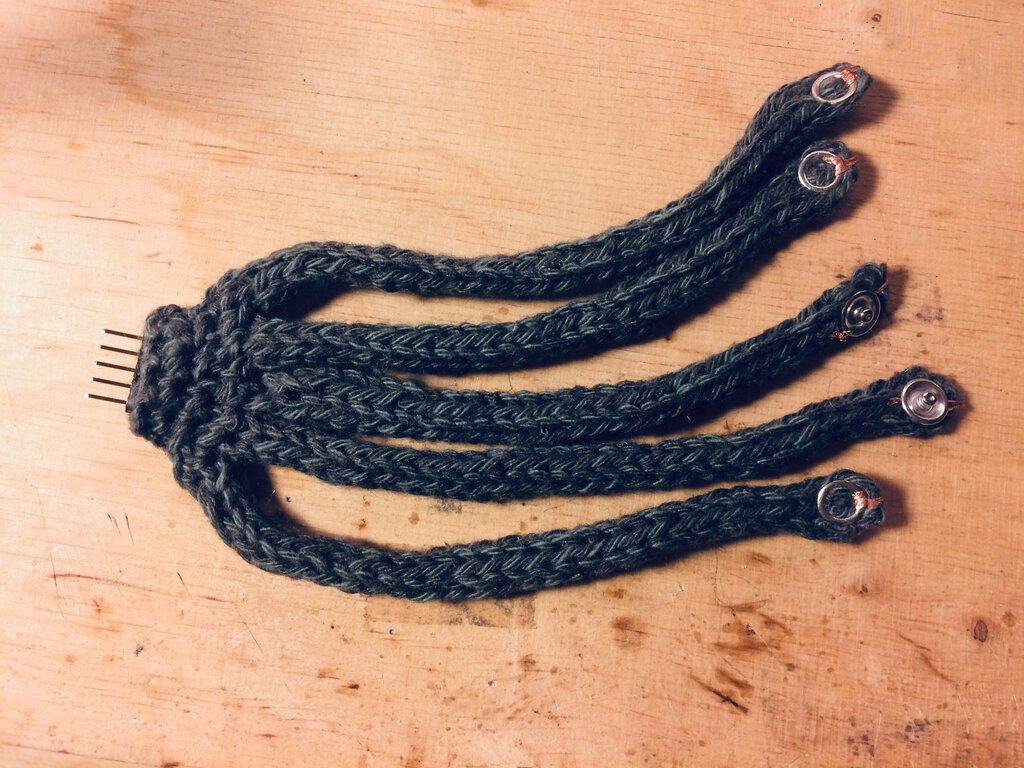
A popper was added to the other end. Mika wrapped the conductive thread around the popper ring before pressing so that the thread had good contact with the metal. This knitted cable connects the conductive knit of the blanket with the circuit on the breadboard.
Crochet patches
Mika also made many of the crochet patches with Statex silver thread: “I used this one because this thread is soft and nice for crocheting, and I had a lot of it. Any conductive thread will work for this application. I used 2mm crochet hook and crochet with a combination of single and double crochet stitches.”
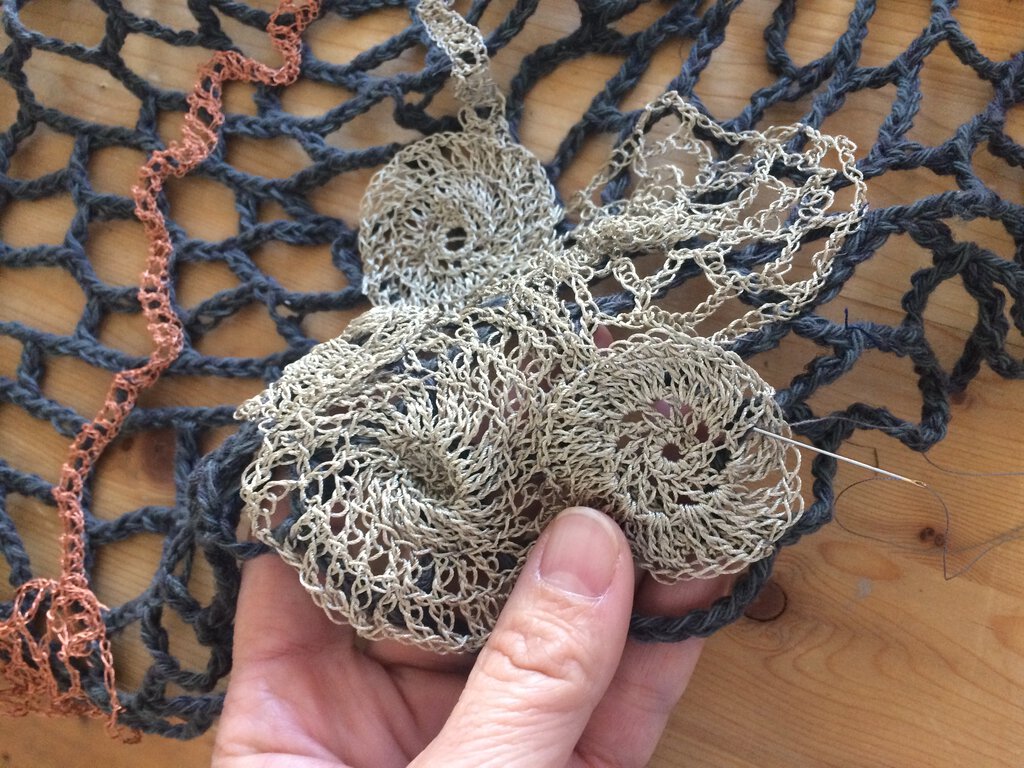
For the last part, Mika placed the patches on the silver thread crochet line (made with chain stitch + single/double crochet) that was already attached to the blanket. Then, she sew the circle patches onto the blanket with regular cotton thread. It is important that the silver thread is tightly sewn together for a reliable electrical connection. The centre ends of the silver thread crochet line are punched with press snaps so they can connect to the knit cable described above.
Kobakant
You can find more photos of the process here and some further details on the Kobakant website. Their website is a gold mine of techniques and tips for working with e-textiles, conductive fabric and materials, and different types of sensors and actuators. Mika Satomi and Hannah Perner-Wilson have been collaborating since 2006, and in 2008 formed the collective Kobakant. Together, through their work, they explore the use of textile crafts and electronics as a medium for commenting on technological aspects of today’s “high-tech” society.