Make A Paper Synth
With conductive ink and Bela
In this post Nicolas Lewis talks us through making a simple and great-sounding synthesiser with conductive paint and Bela.
Paper and Paint Synth
I’ve been using Bare Conductive’s electric paint for a few years now in various interactive projects as a way of controlling MIDI through capacitive touch. So I thought it would be really cool to use it as an analogue controller to make a simple synthesiser, and it turns out that it’s pretty simple to make a basic voltage divider using the paint that can act like a potentiometer.
The Idea was to create two of these voltage dividers, one to control amplitude and the other to control frequency, resulting in an instrument that sounds and a bit like the Theremin. The instrument would be powered by Pure Data running on Bela.
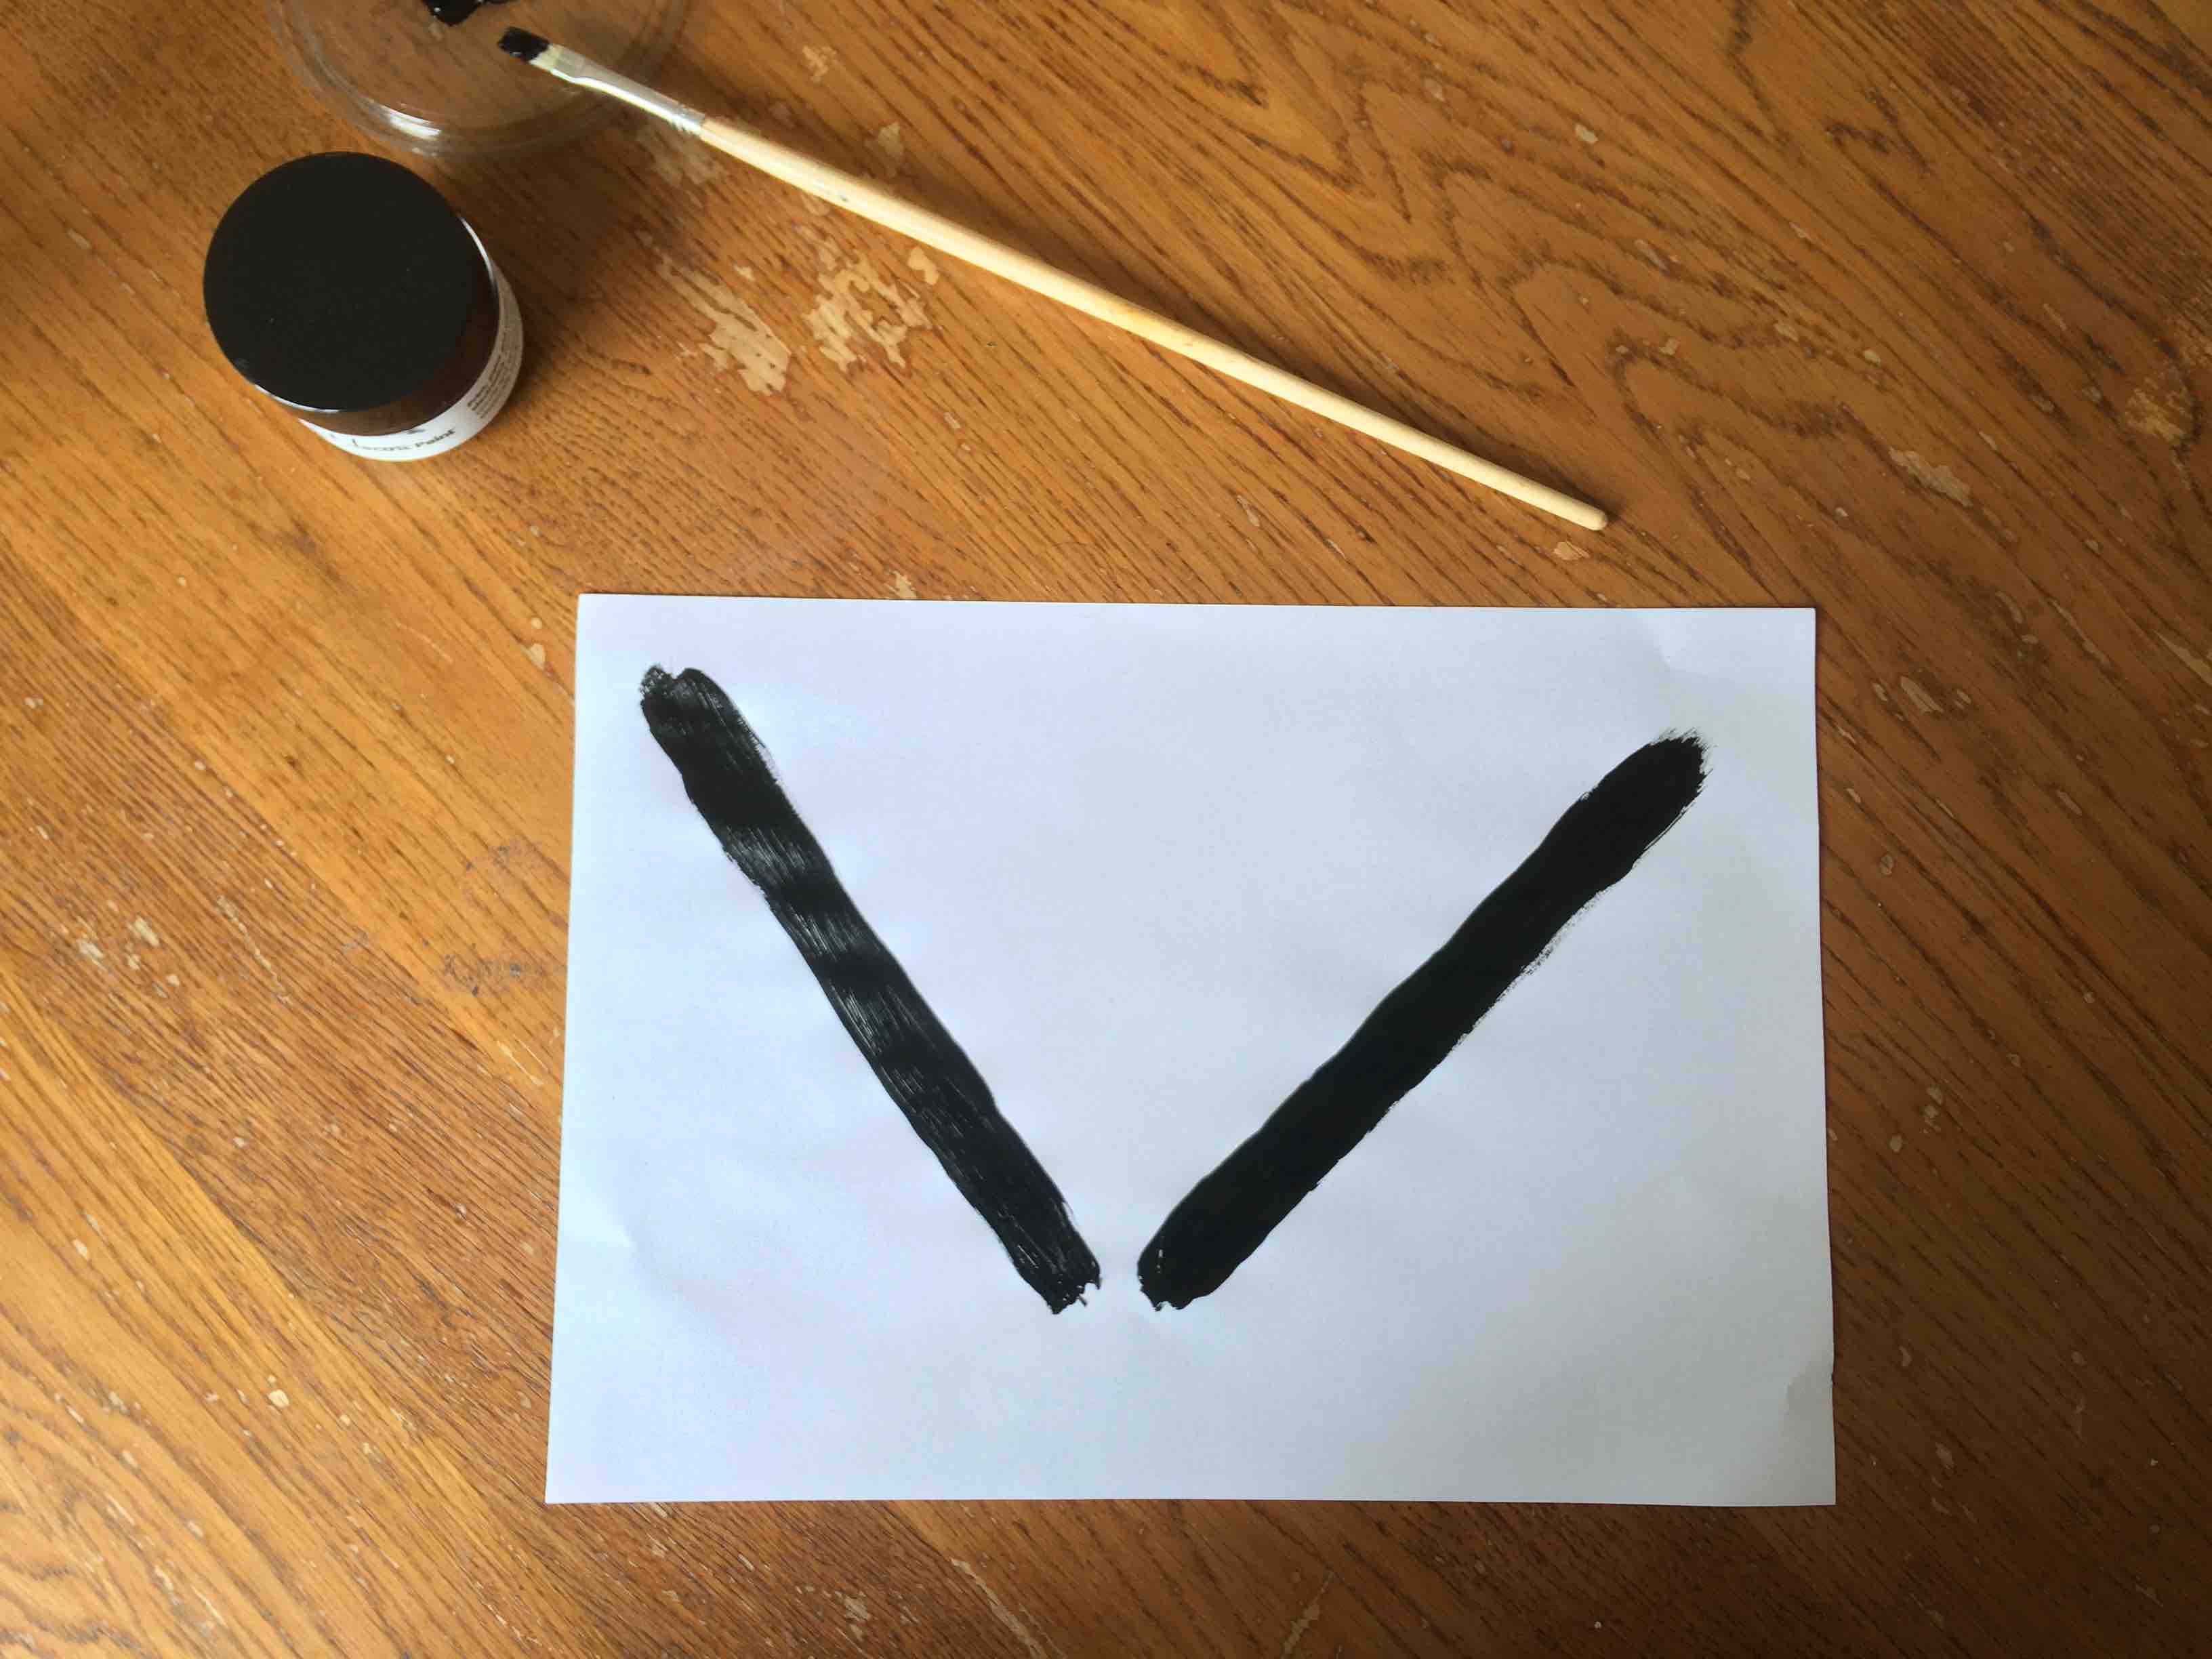
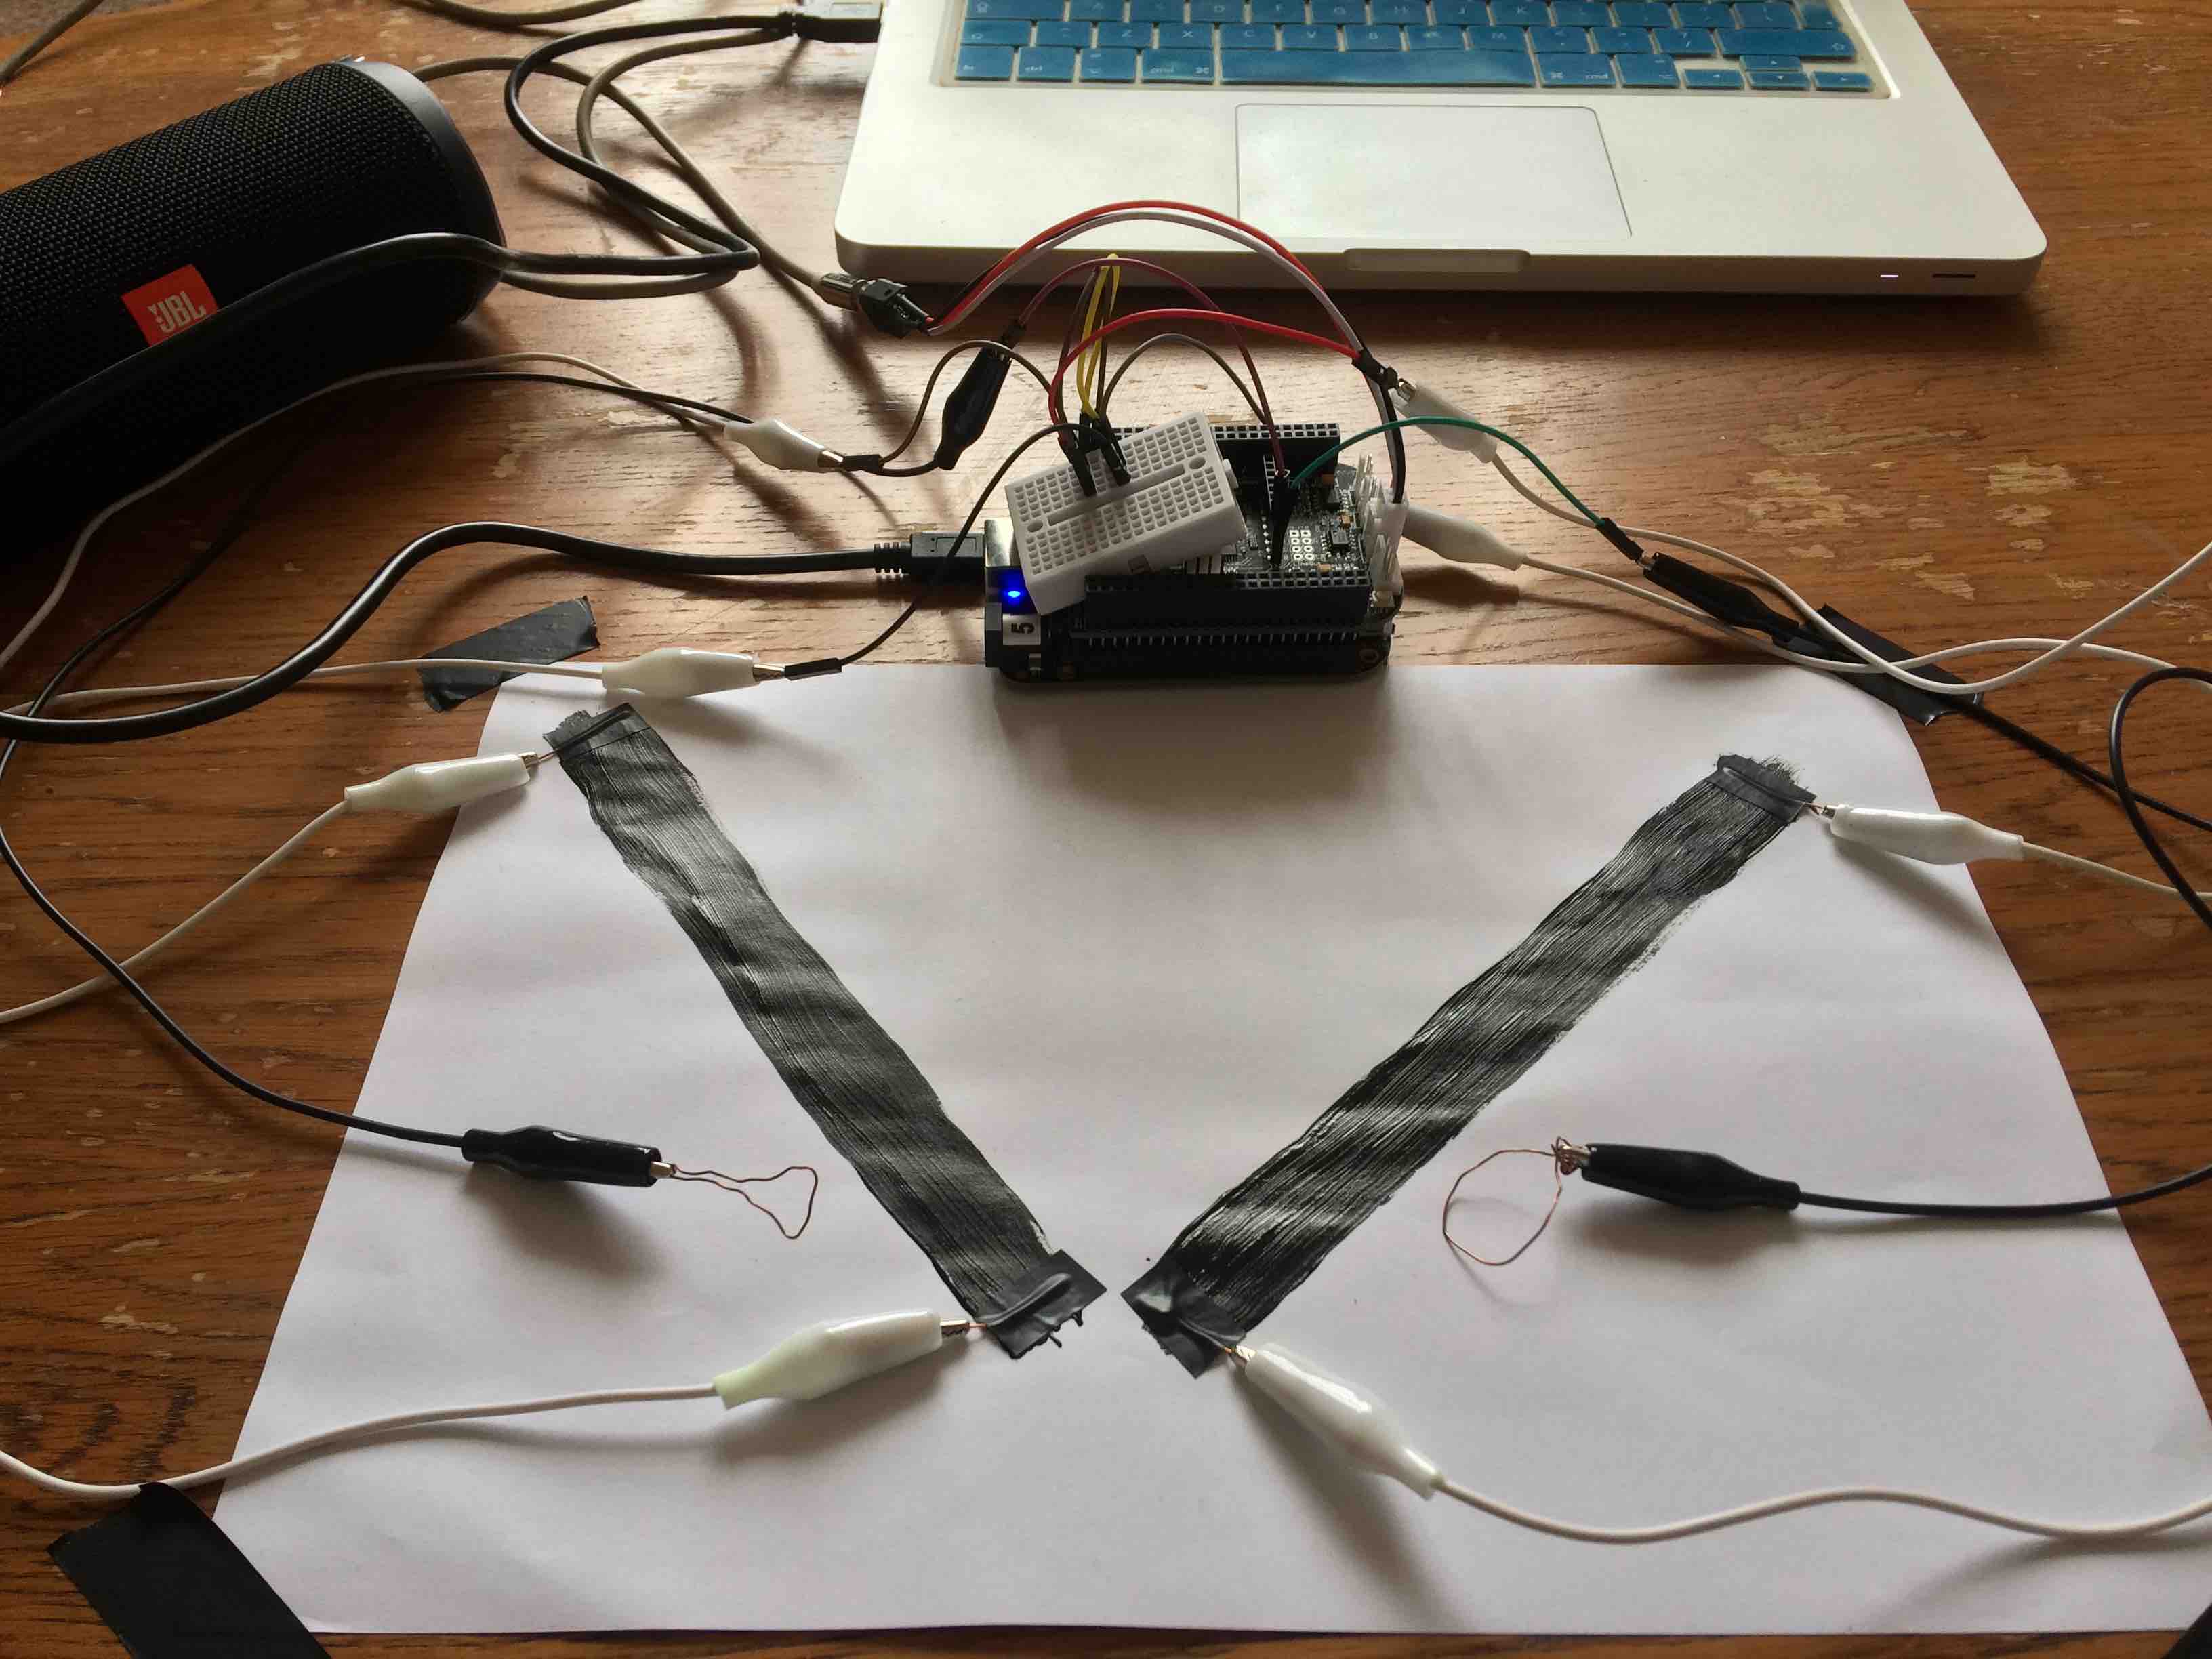
To start off with I painted the electric paint in two straight strips to make a rough V shape. The right strip is used to control the amplitude and the left strip to control frequency. You could pretty much paint the voltage dividers in any shape though, I chose this because I am a guitarist and this just seemed to make most sense in terms of playability to me.
Once it’s applied and dried, the paint acts like any other conductive surface. To make it work as effectively as possible, you need to slather it on fairly thickly and wait for it to dry completely. I didn’t quite make the paint thick enough in places, which is why I was getting the occasional chirp from the voltage dividers when playing music. As the conductivity changes, or if there is a slight break in the conductive surface then the reading (and hence the frequency) changes suddenly, which can create these chirping effects.
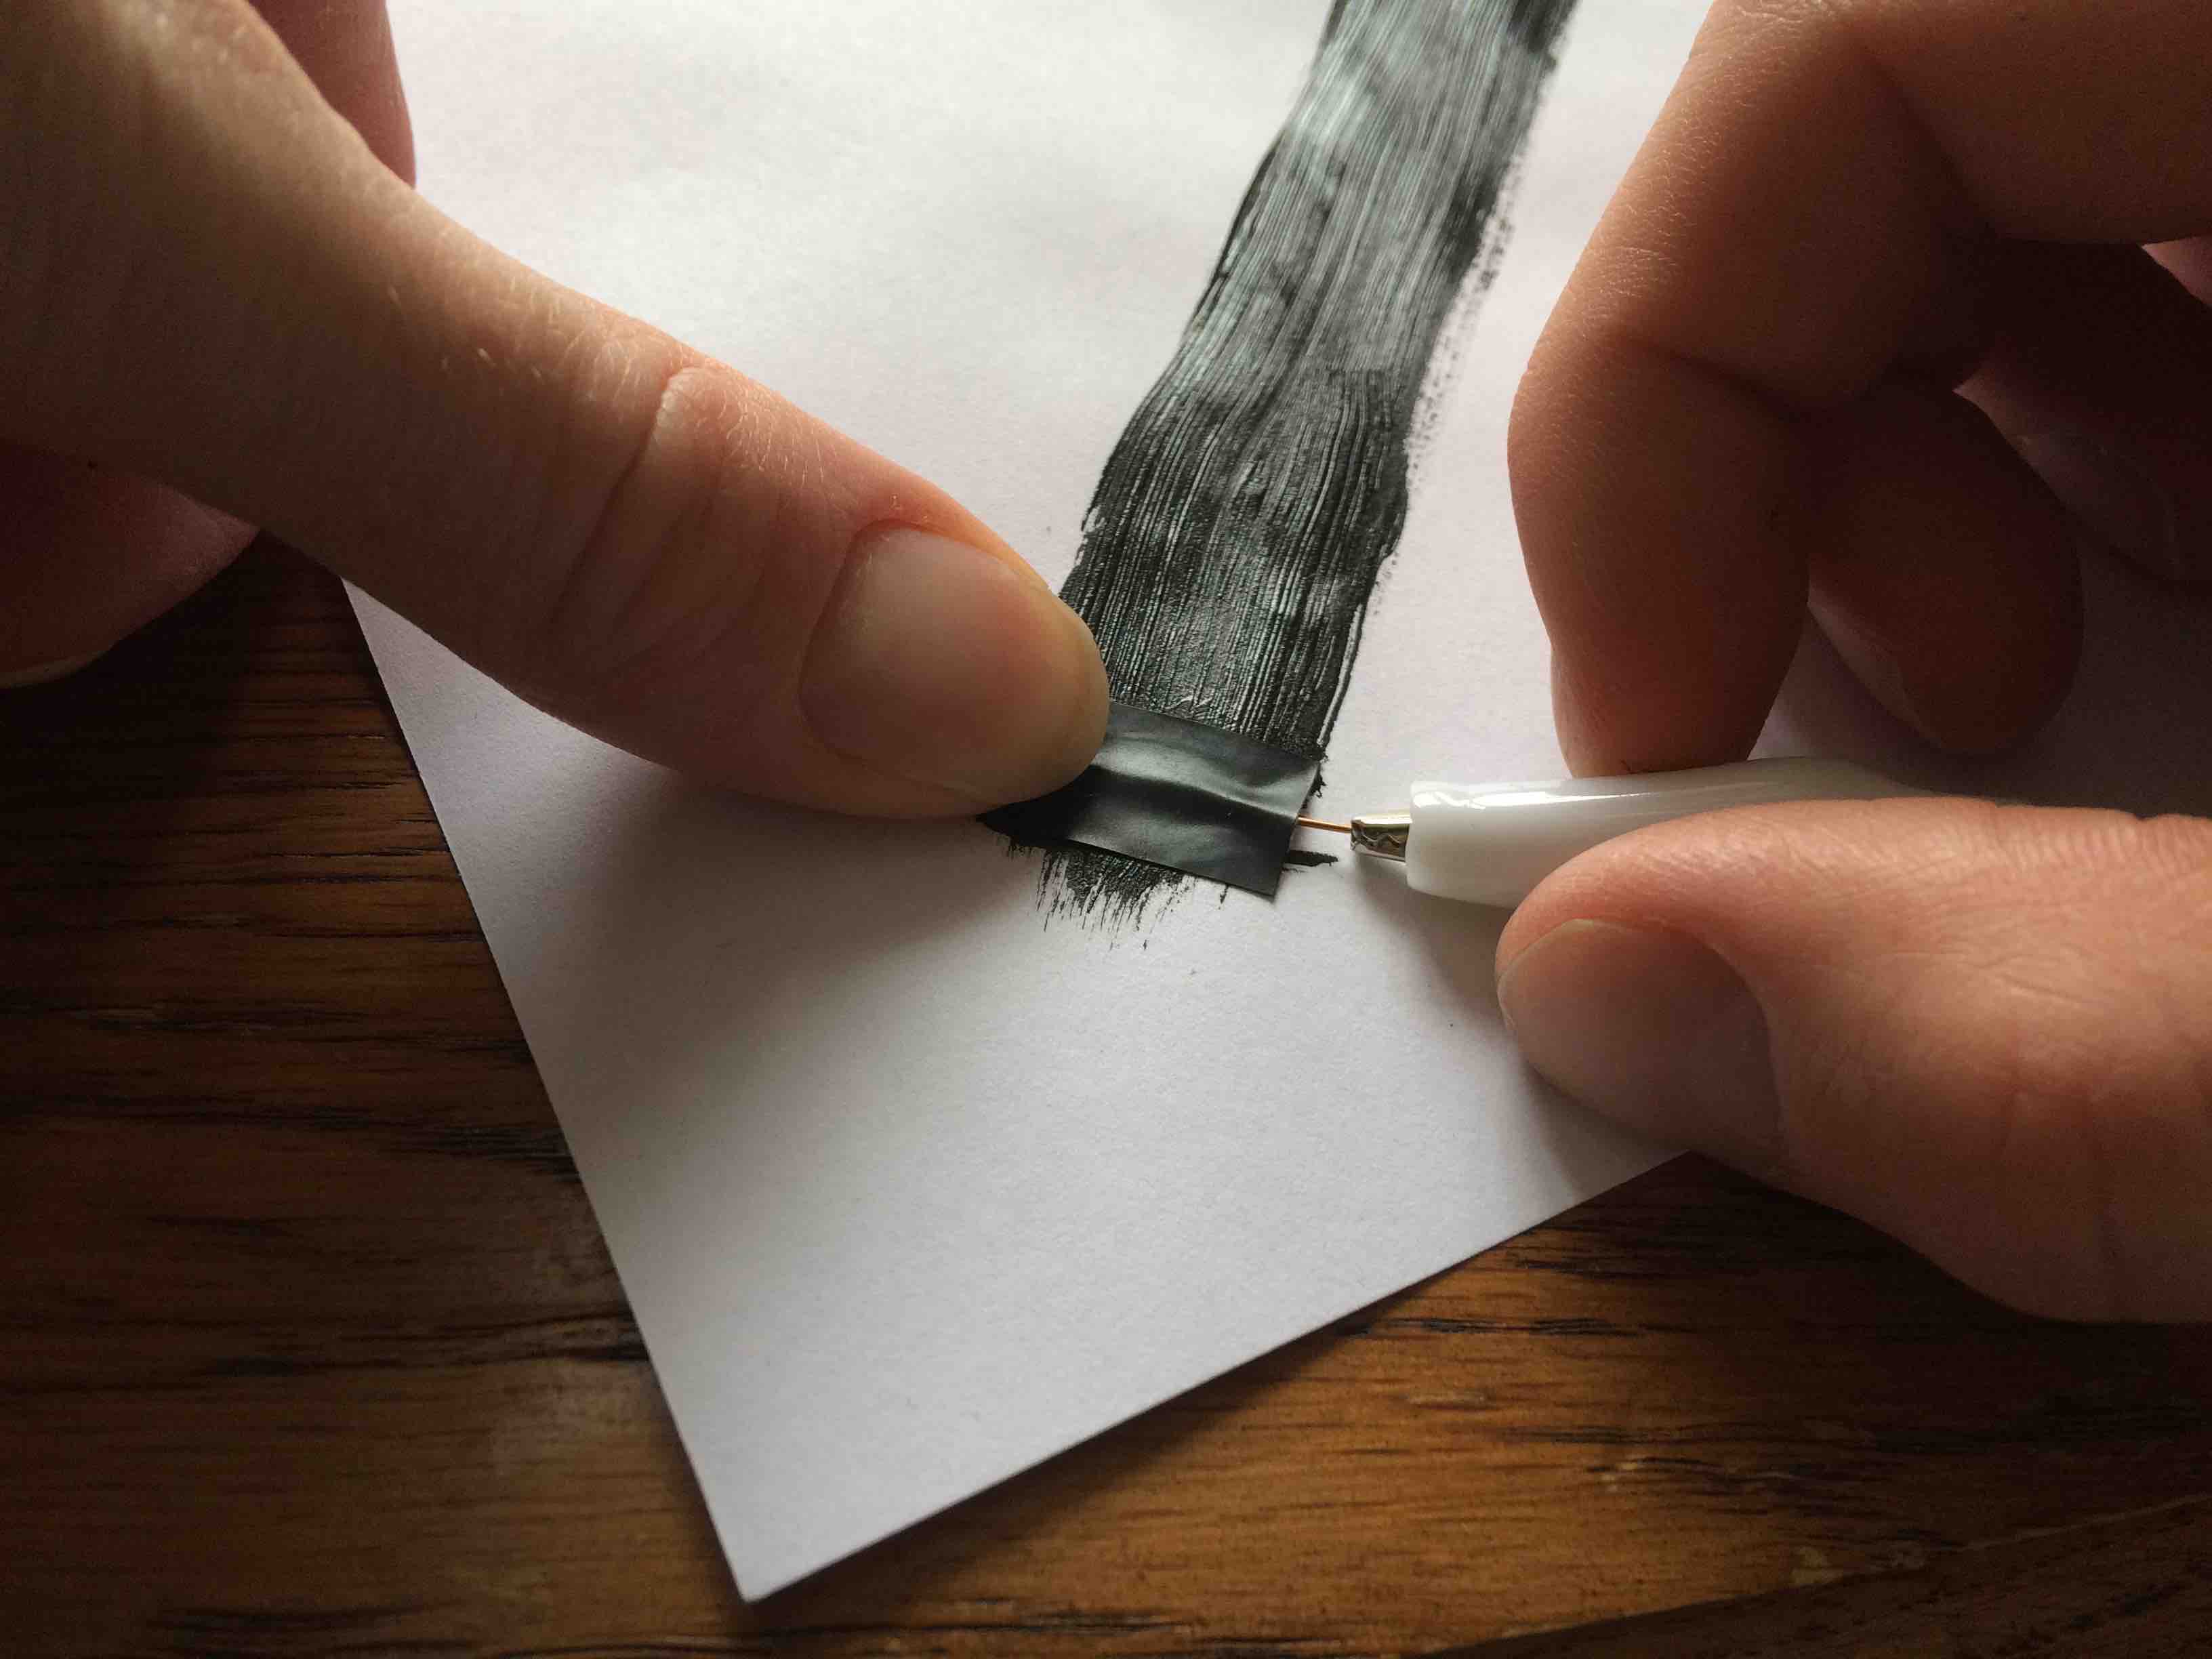
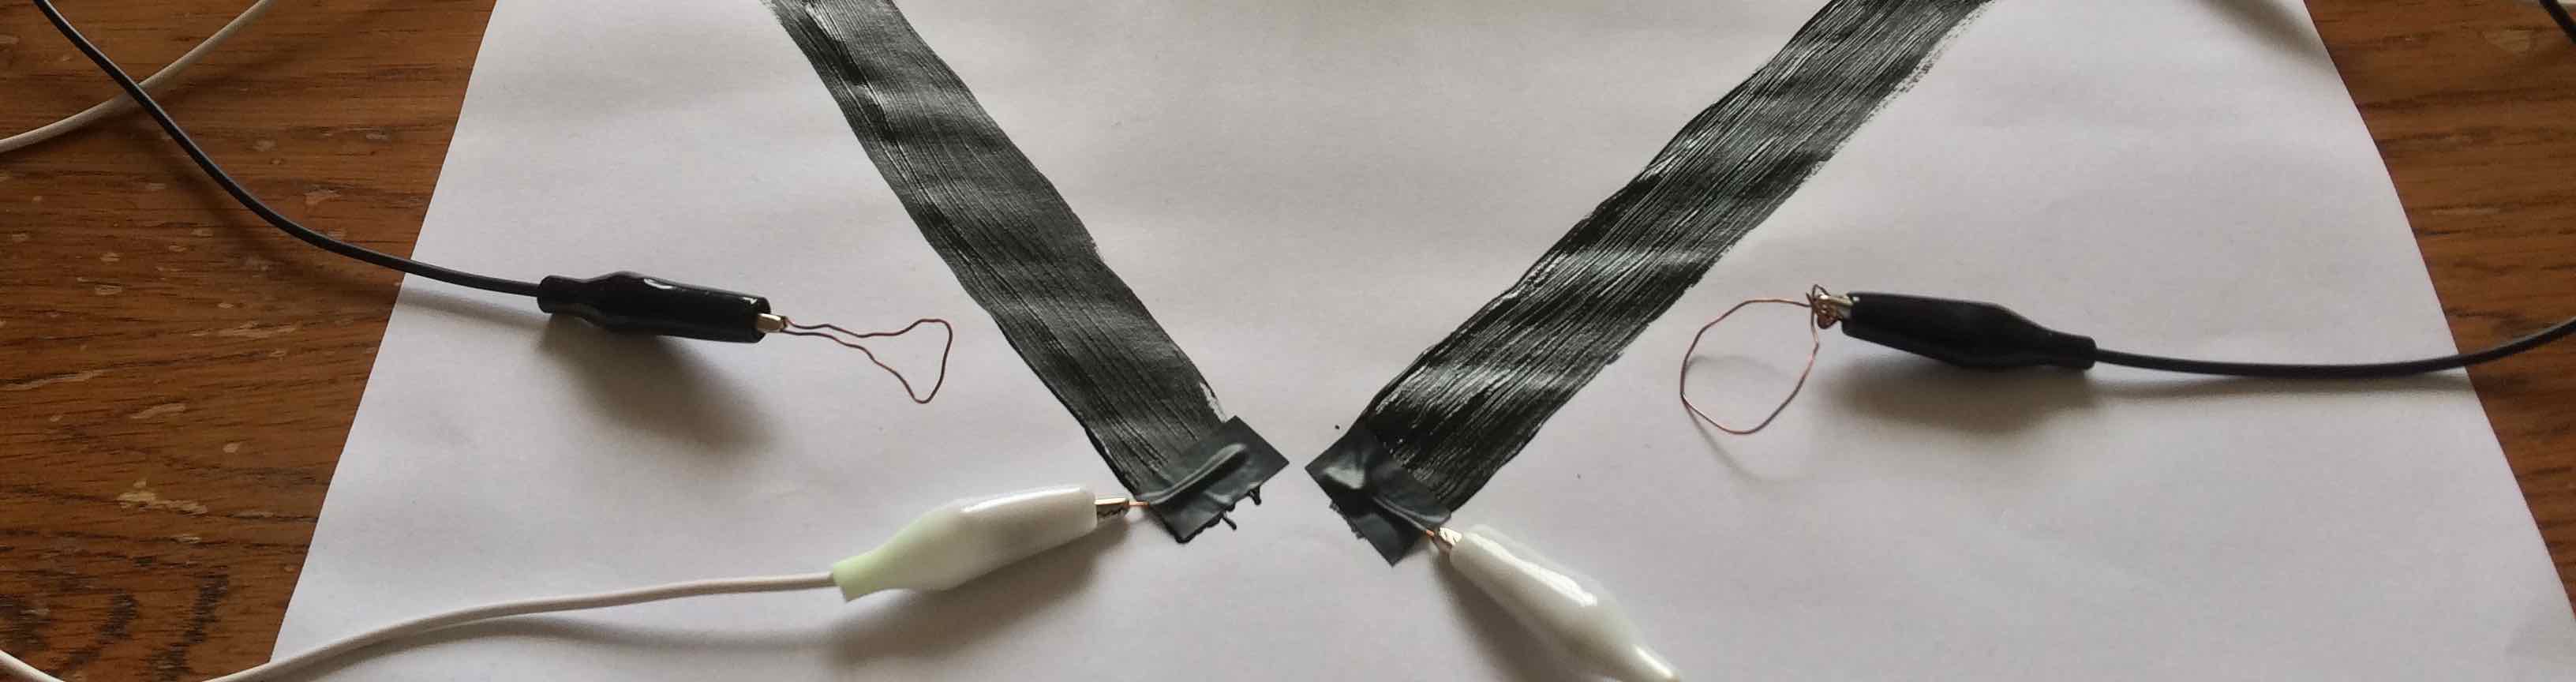
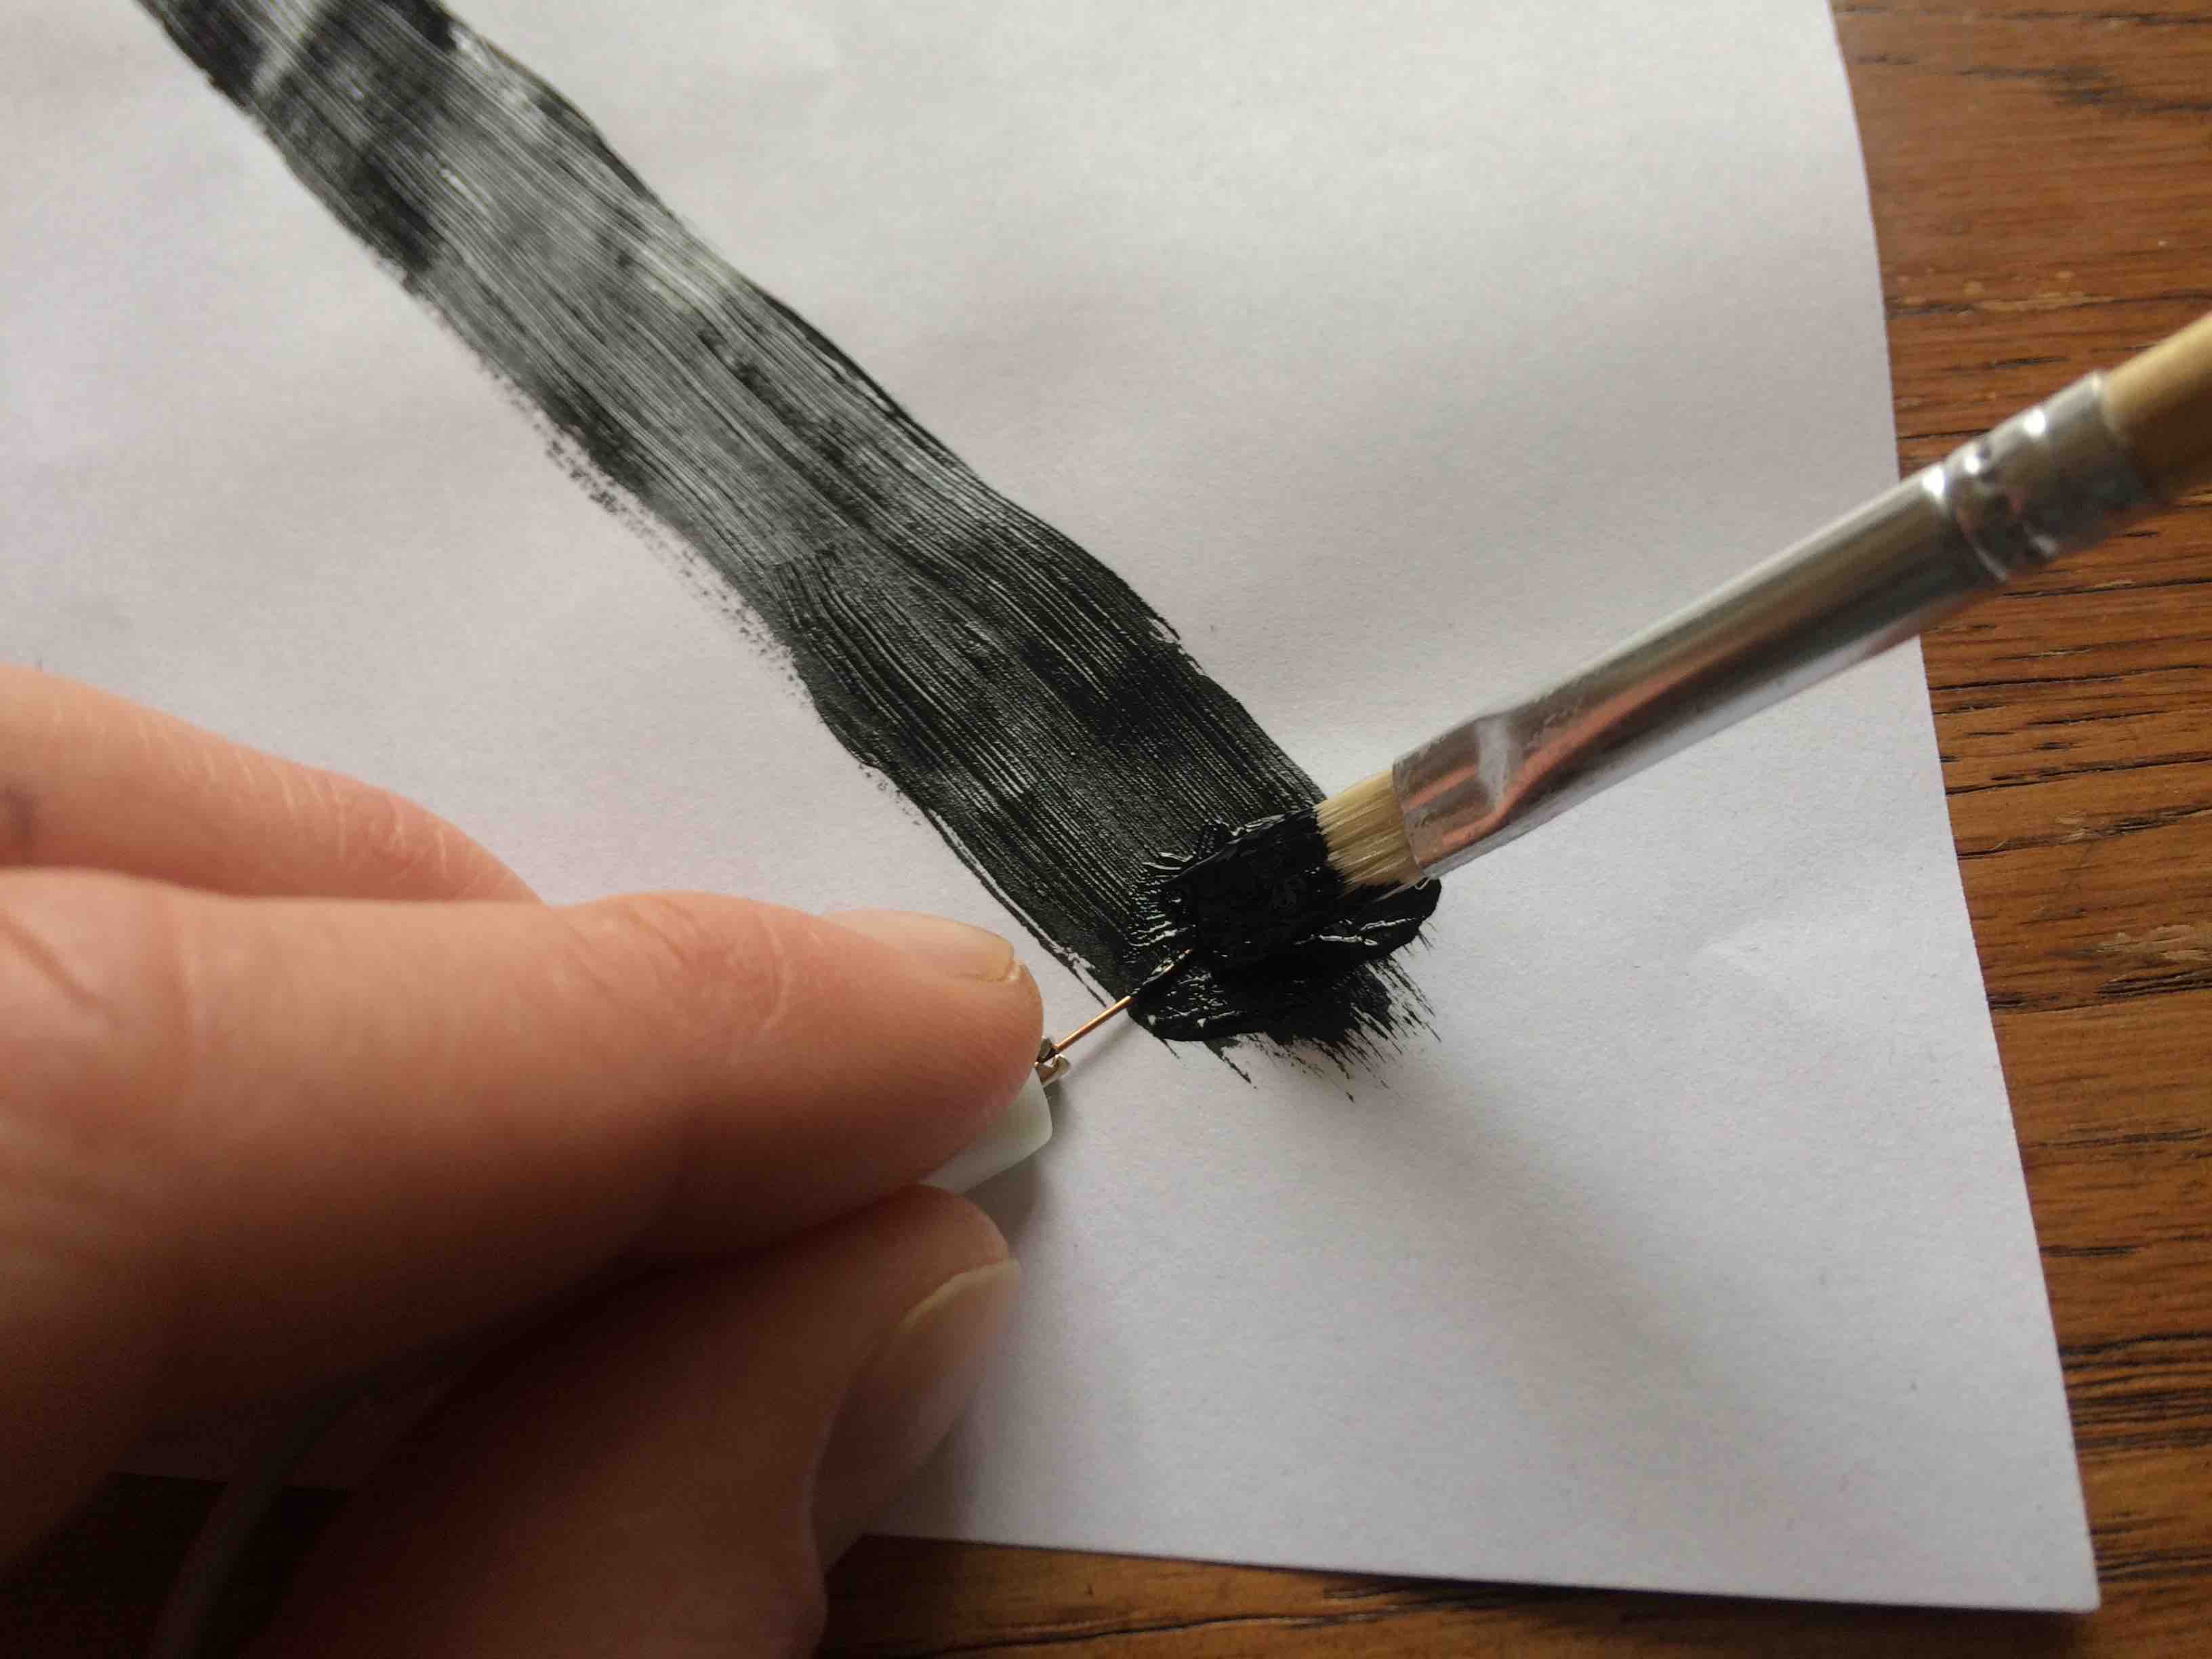
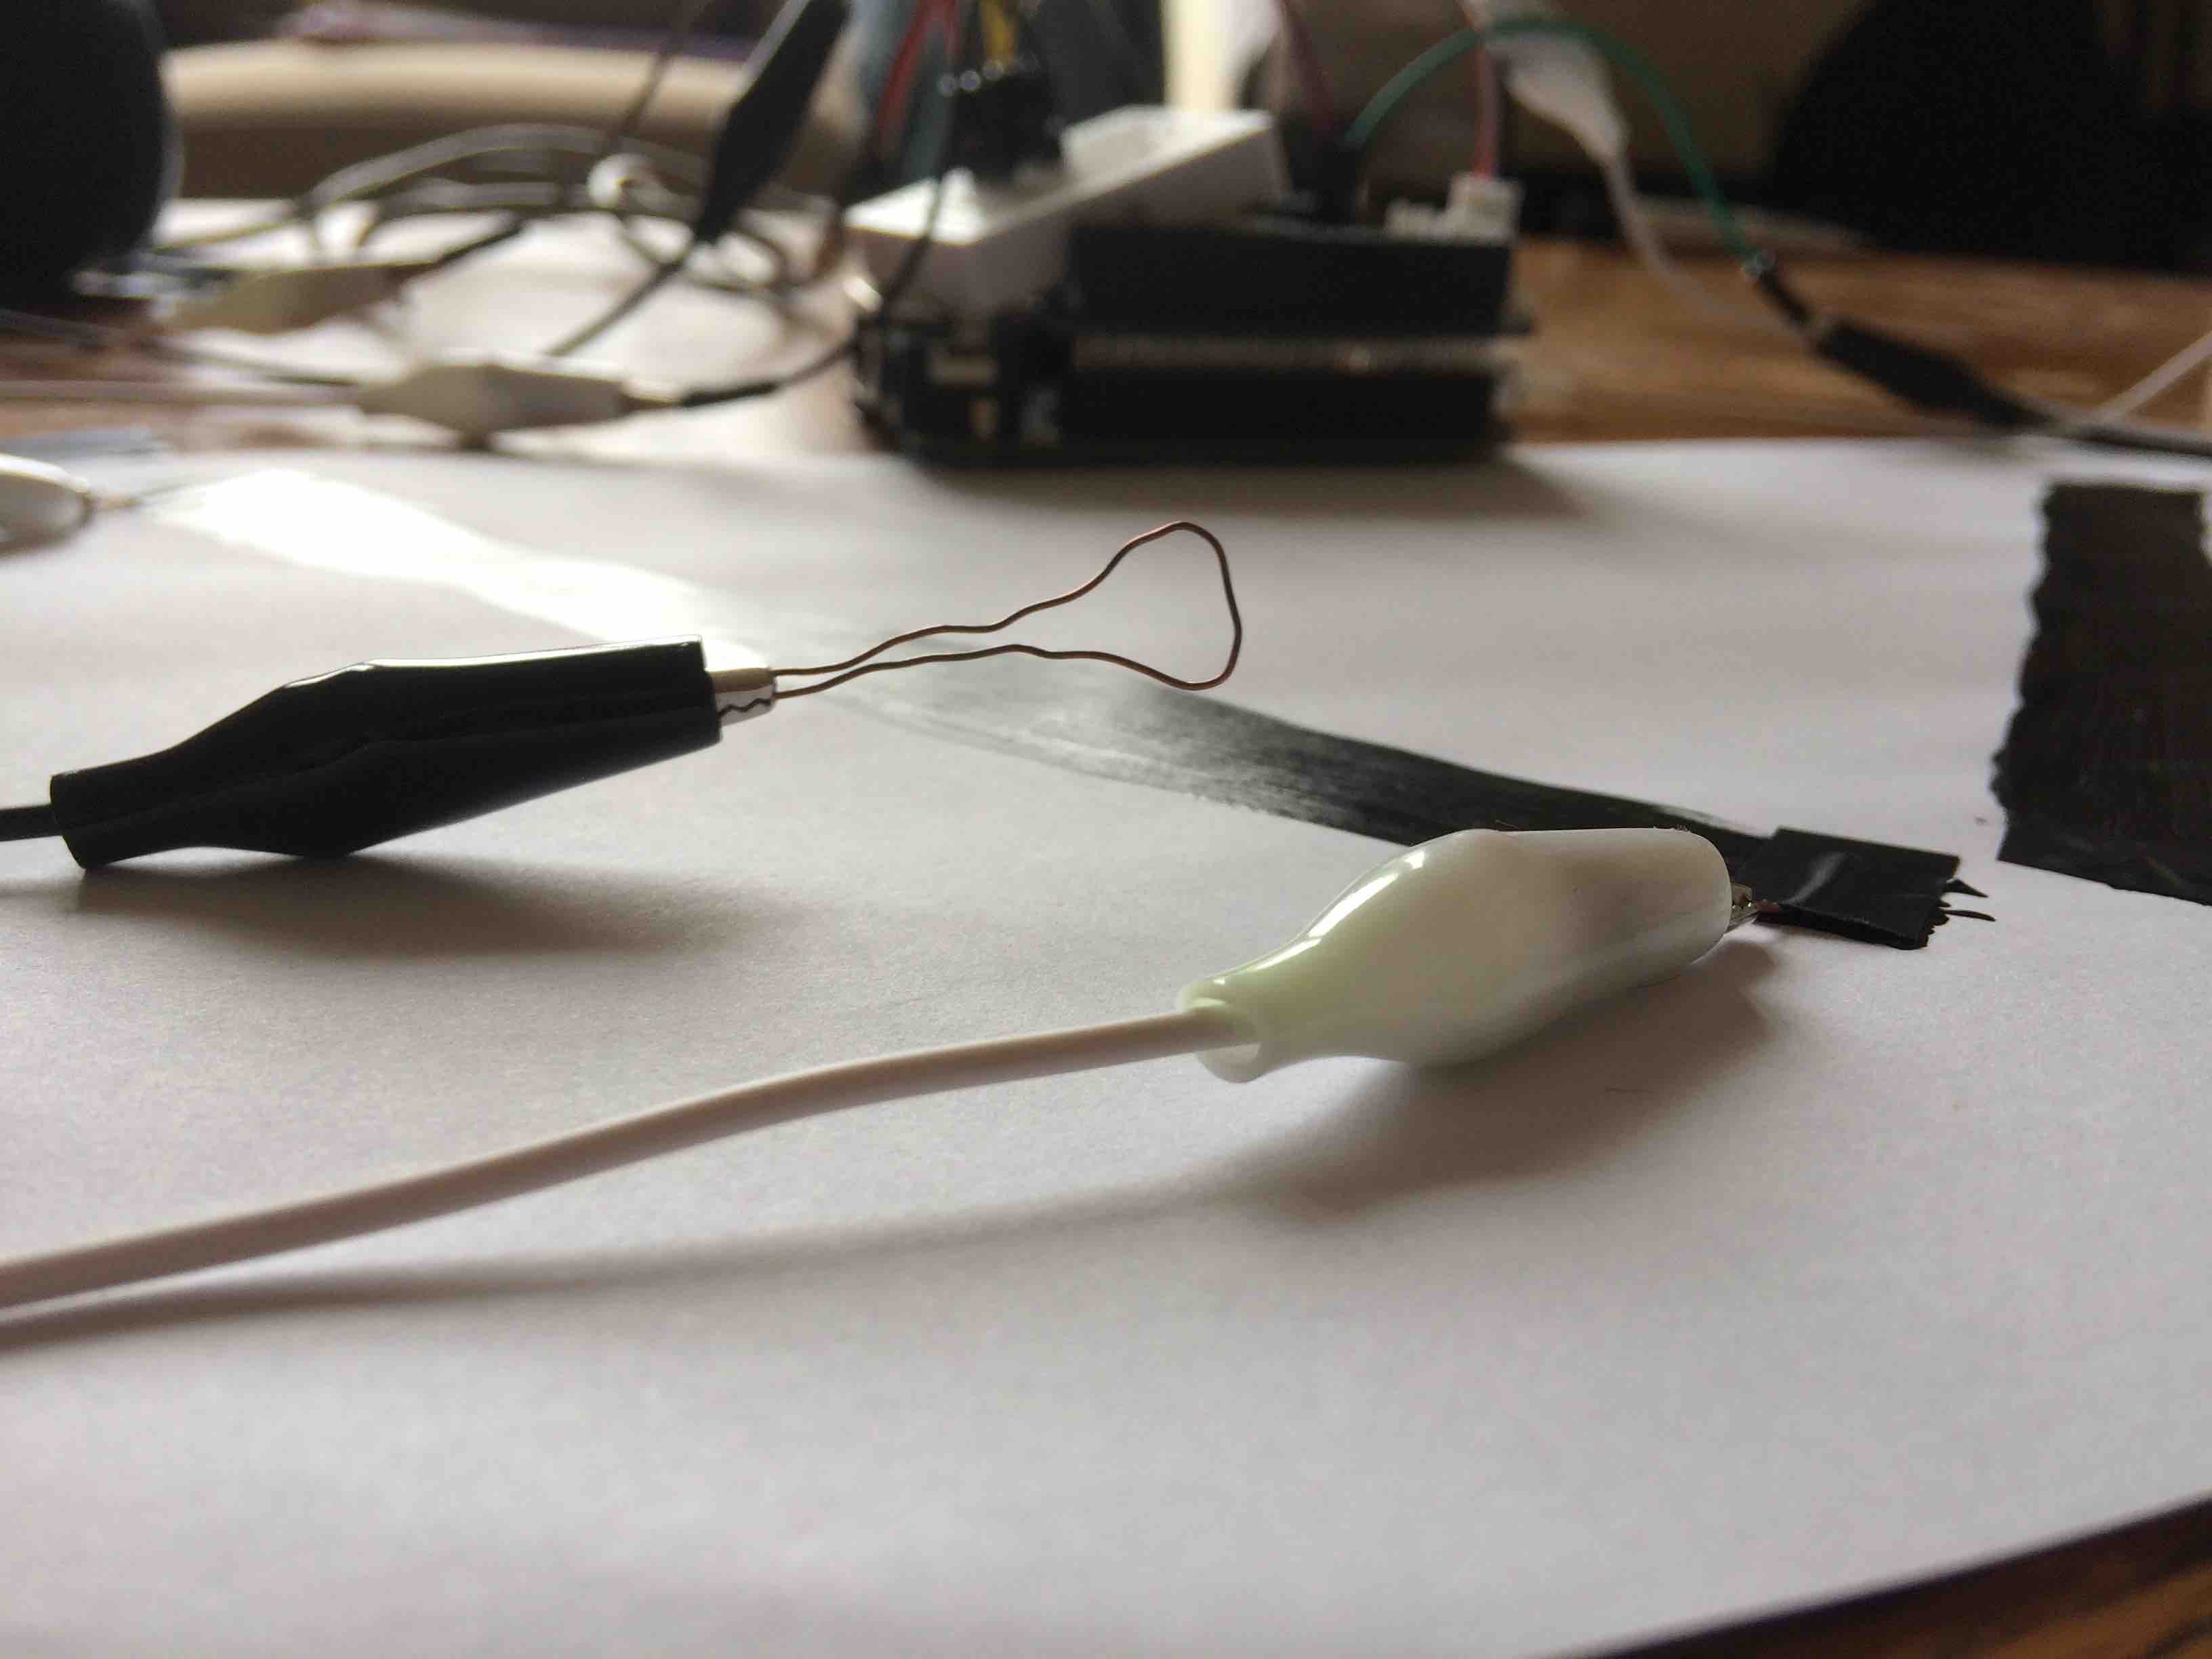
After the paint was dry, I attached wires to the end of each strip. I did this by sort-of soldering each wire in place with more electric paint, and then covering the connection in tape. I learnt from experience that if you just tape each wire in place, the connection comes easily loose and you get a gradual drift in the parameters of each voltage divider, which makes the instrument incredibly difficult to play.
To get the instrument working with Bela I attached the wires now coming from the top of each strip to the 5v pin, and the wires coming from the bottom of each strip to a GND pin. I then attached two more wires to analogue pins 0 & 1 to use as wipers. The wipers send different voltages to the Bela depending on where they are touched along each strip. To make sound, I loaded a super simple Pure Data patch onto Bela using the IDE. The patch is a slightly edited version of one of the Bela example projects and it just creates a sinetone at a suitable frequency and uses analogue pins 0 & 1 to control frequency and amplitude.
I’m primarily a musician and fairly new to Pure Data and electronics, so to begin with I stuck with a basic PD patch, and added a bit of crunchy overdrive and reverb in my DAW when recording the above video.
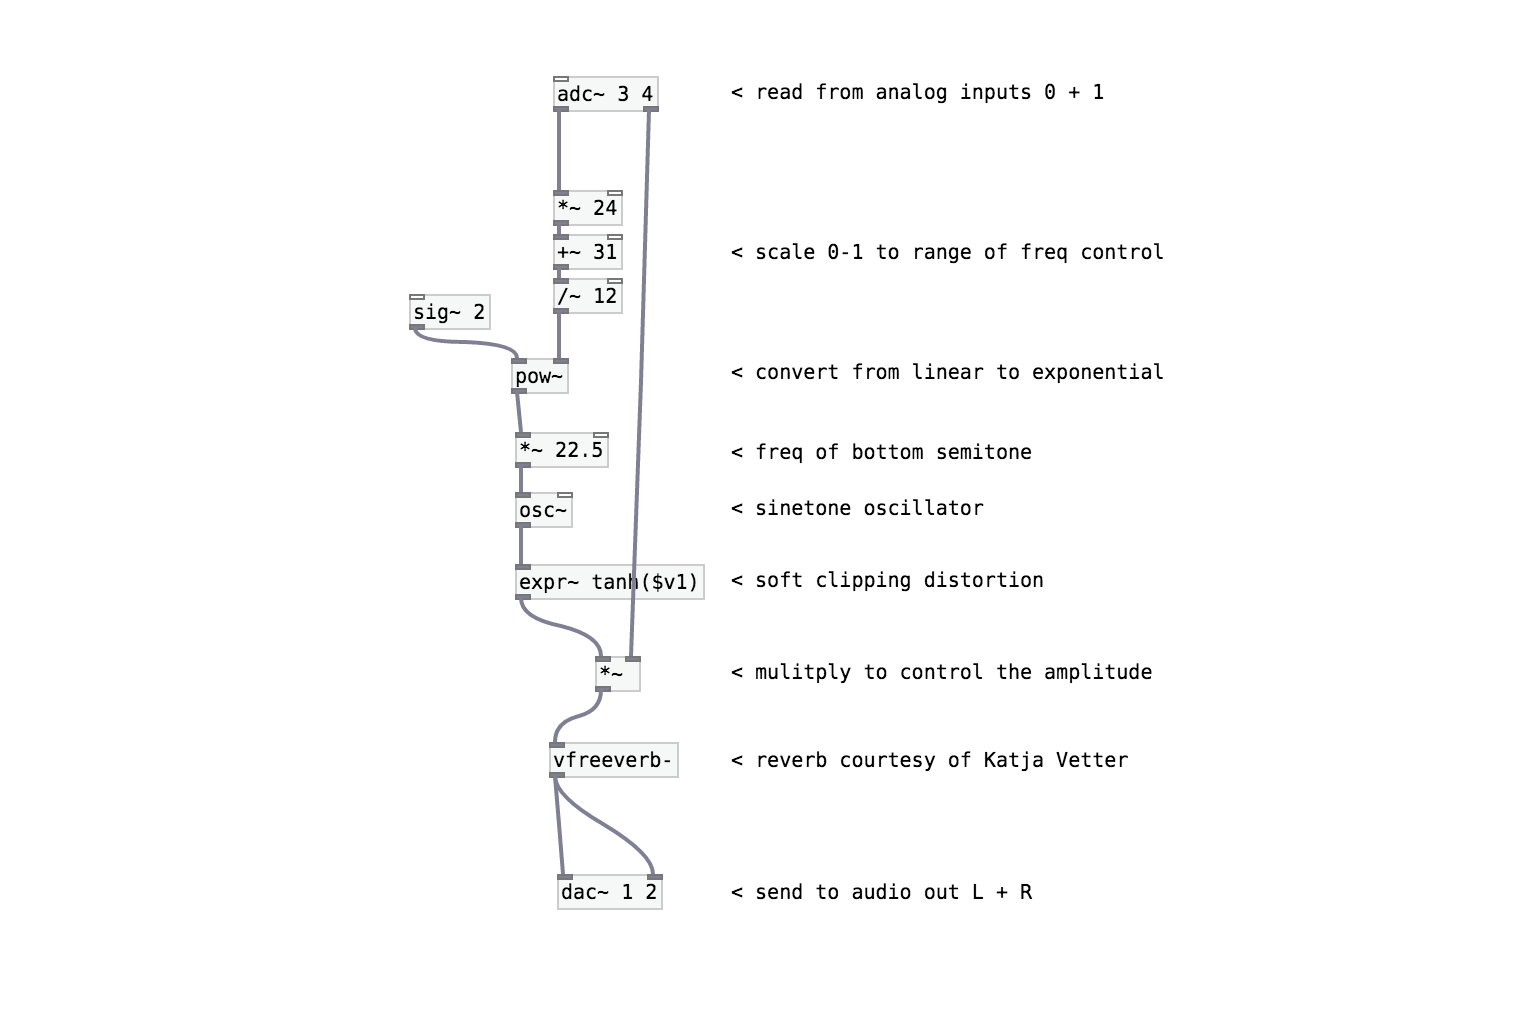
One slightly tricky step to deal with was mapping the values of the analog input to the frequency range I wanted for the sinetone.
This involved a couple of steps including shifting the range and then converting it to be exponential instead of linear.
The patch above shows a version that takes care of everything. If you’d like to try it yourself you can download the patch here.
Thanks to Nicolas for sharing this with us and for his impressive playing of Elgar! Nicolas is a classically trained guitarist and currently performs, composes, and creates music for installations. Over the past few years he has toured the UK performing his compositions for new theatre works; performed at the Southbank Centre and Royal Albert Hall with his Brazilian choro group; designed a ukulele syllabus for a London music service; and run exciting music-making workshops throughout the country. When creating works and performing, he often fuses classical traditions with cutting edge technology to create a tangible dynamic between him and the audience. You can find out more on his website.